


When it comes to kitting out a commercial van, steel is the undisputed king of racking systems. For tradespeople across the UK who rely on their vehicle day in and day out, steel’s blend of sheer durability, value for money, and safety simply can’t be beaten. It’s the bedrock of a reliable mobile workspace.
Why Steel Racking Is a Tradesman’s Best Mate
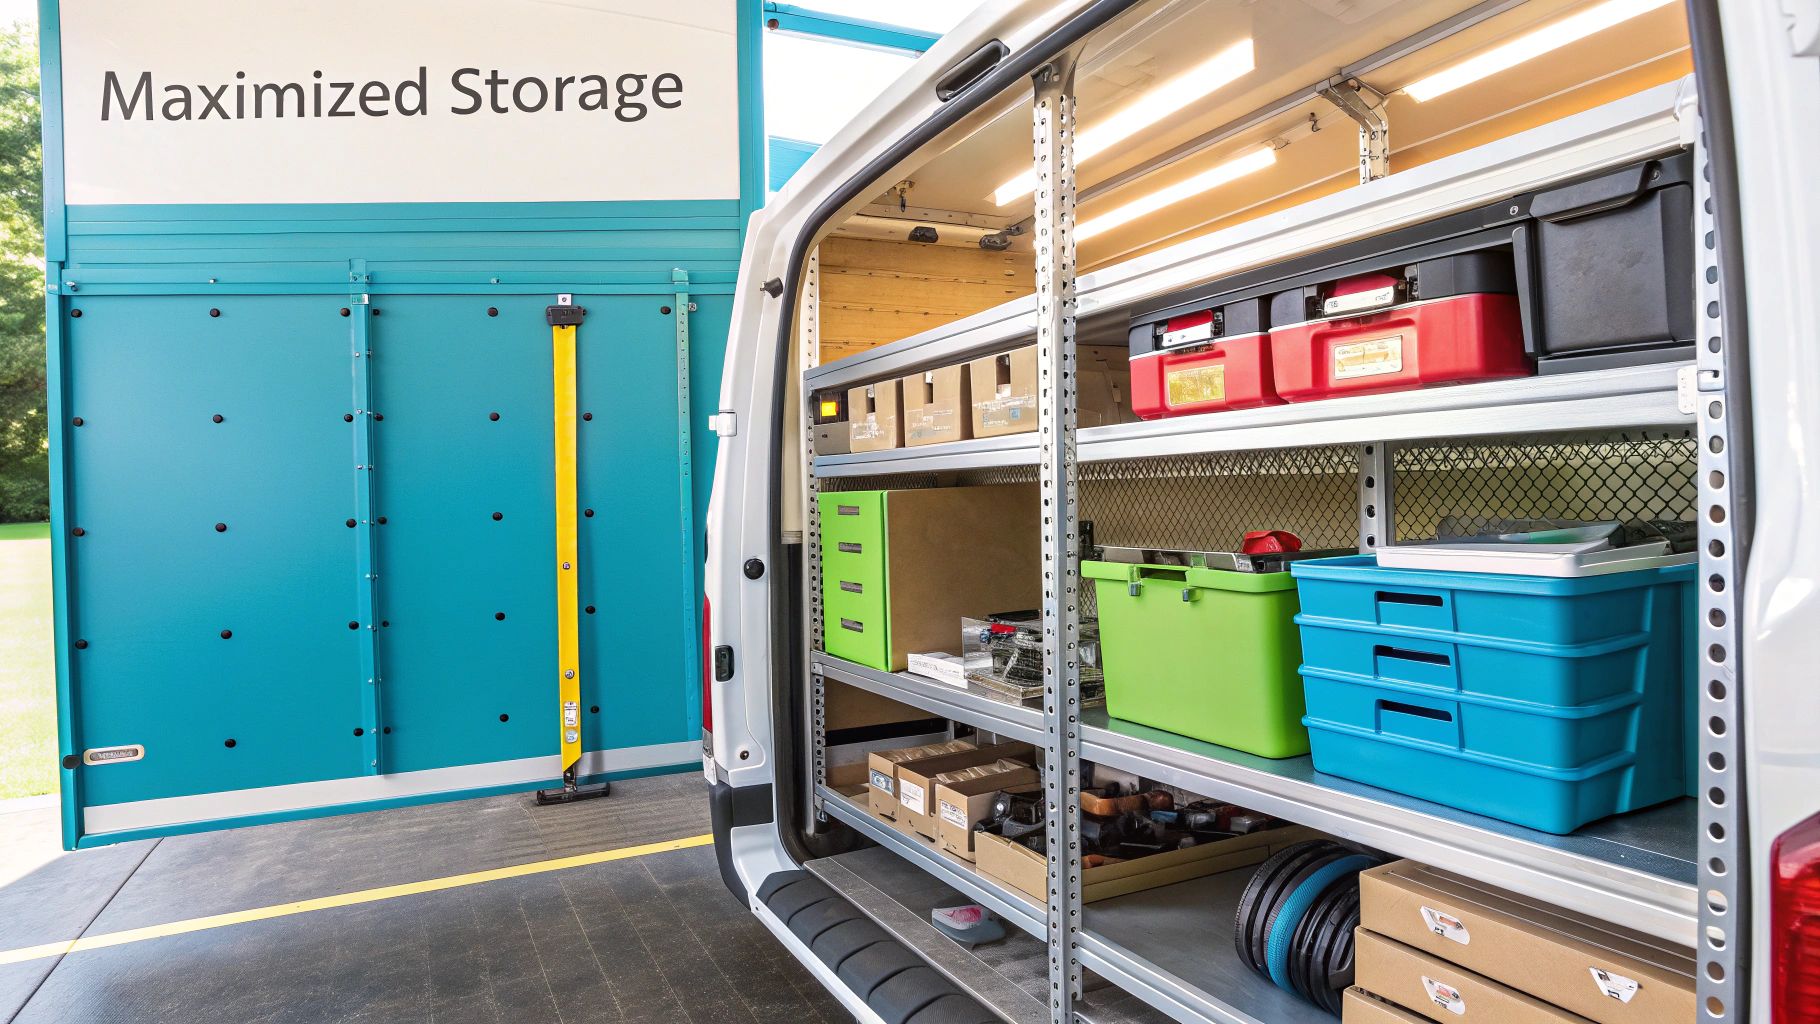
Before you even think about picking up a drill, the first big decision is your racking material. While you’ll see other options out there, for any professional whose livelihood is packed into the back of their van, steel consistently comes out on top as the smartest long-term investment.
The reason is straightforward: uncompromising strength. Think about what your van goes through. Constant road vibrations, sharp corners, and the daily reality of lugging heavy tools and materials on and off-site. Steel racking is built for that punishment, standing firm where lesser materials would bend, warp, or fail over time.
More Than Just Brute Force
Now, modern steel racking isn’t the clunky, heavy beast of the past. Today’s systems are cleverly engineered using high-strength steel alloys, giving you incredible toughness without weighing your van down unnecessarily. It’s all about finding that sweet spot.
This smart design means you get maximum durability while preserving as much of your van’s precious payload capacity as possible. Your van stays efficient and legal, and you get the peace of mind that comes from knowing your gear is locked down securely. Investing in quality racking is just as vital for your mobile setup as choosing durable stainless steel enclosures is for protecting delicate components in a workshop.
A Quick Look: Steel vs. Aluminium vs. Plywood
To see how the materials stack up, here’s a quick comparison. It’s clear why steel often hits the mark for most professional trades.
Comparing Racking Materials Steel vs Aluminium vs Plywood
| Material | Durability | Weight | Cost | Best For |
|---|---|---|---|---|
| Steel | Excellent | Heavy | Mid-Range | Heavy-duty use, maximum security, and long-term value. The all-rounder for most trades. |
| Aluminium | Good | Lightweight | High | Maximising payload for lighter, bulkier goods. Ideal for couriers or specific light-duty trades. |
| Plywood | Fair | Mid-Weight | Low (DIY) | Low-budget, custom DIY setups. Best for light use as it’s prone to wear and splintering. |
While aluminium has its place for weight-saving and plywood is a budget option, steel provides the best balance of strength, cost, and longevity for the demands of a typical working van.
Safety and Professionalism: The Bottom Line
Let’s be blunt: safety is non-negotiable. If you have to brake suddenly or are involved in a collision, loose tools and equipment become lethal projectiles. Properly installed, crash-tested steel racking is designed to hold everything in place, protecting you, your passengers, and other drivers.
A van fitted out with a solid steel bulkhead and secure racking is more than just an organised workspace—it’s a critical piece of safety gear. It creates a barrier between the cab and the cargo, dramatically cutting the risk of injury.
This commitment to a safe and organised setup also speaks volumes to your clients. Pulling up in a van that’s tidy and secure instantly signals that you’re a professional who takes their work seriously. It builds trust before you’ve even stepped out of the vehicle.
Designing a Workflow-First Van Layout
Before you even think about tightening a single bolt, you need a solid plan. The best van racking metal systems aren’t just bought off a shelf; they’re thoughtfully designed around the way you work every single day. A great layout transforms your van from a simple tin box into a mobile workshop that actually makes your job easier. This all starts with an honest look at your tools and your workflow, not with a product catalogue.
First things first, take a complete inventory. I mean it – empty the entire van and lay everything out. This is the only way to get a true picture of what you really use versus the stuff that’s just been rattling around in the back for months. Start grouping items by how often you need them. What do you reach for multiple times a day? What about only once a week? This simple exercise is the bedrock of a smart, practical layout.
Next, get your tape measure out and measure everything. Twice. You’ll need the internal length, width, and height of your cargo area, of course. But don’t overlook the little details that can trip you up later, like the exact size and position of the wheel arches, the full swing of the side and rear doors, and any factory tie-down points you need to keep clear.
Sketching Out Your Zones
With your inventory list and measurements ready, it’s time to start sketching. You don’t need any fancy software for this; a pen and paper are perfect. The main goal here is to create logical zones inside the van that mirror how you move on a job.
- Fast-Grab Zone: This is your prime real estate, usually right by the side or rear doors. It’s the spot for your most-used hand tools, meters, and everyday consumables. Think small bins and shallow, easy-access shelves.
- Heavy Gear Zone: Big, heavy items like generators or large power tool cases belong on the floor, ideally positioned over the axles to keep the van’s centre of gravity low and stable. Make sure they’re secured firmly against a bulkhead or a sturdy shelving unit.
- Component & Spares Zone: This is where drawer units and parts cases earn their keep. Use them to organise all those small fittings, screws, and connectors. Having a dedicated van racking metal drawer unit means no more frantic searching for a tiny but critical part.
- Long Item Storage: You need a specific place for long gear like pipes, spirit levels, or conduit. This could be a long, narrow shelf running along the top of a racking unit or even a dedicated pipe tube mounted to the roof or rack.
Think about the journey a tool takes, from being stored in the van to being used on the job site. If you’re an electrician, your multimeter and favourite screwdrivers should be within arm’s reach without you having to climb inside. A plumber might need to grab a specific wrench and the right fittings in one go.
Your layout should be dictated entirely by your trade. The most efficient design is one that cuts down on wasted steps and unnecessary movement, saving you time and energy on every single job.
Perfecting the Plan Before You Buy
Once you have a rough sketch, it’s time to refine it. Grab some old cardboard boxes and mock up the dimensions of the racking units you’re considering. Place them inside the van. This gives you a proper, real-world feel for the space and helps you catch problems early, like a drawer that won’t open fully because it hits the wheel arch.
This level of detailed planning is what prevents expensive mistakes. A well-thought-out design ensures your new van racking metal system supports your work from day one, instead of forcing you to work around its flaws. The core ideas of creating an optimal layout for tools apply to all sorts of work vehicles; for more inspiration, you might find it useful to see how to organize your truck bed for maximum efficiency. By putting in the time upfront, you’re building yourself a safer, more professional, and seriously productive workspace on wheels.
Choosing the Right Racking System for Your Trade
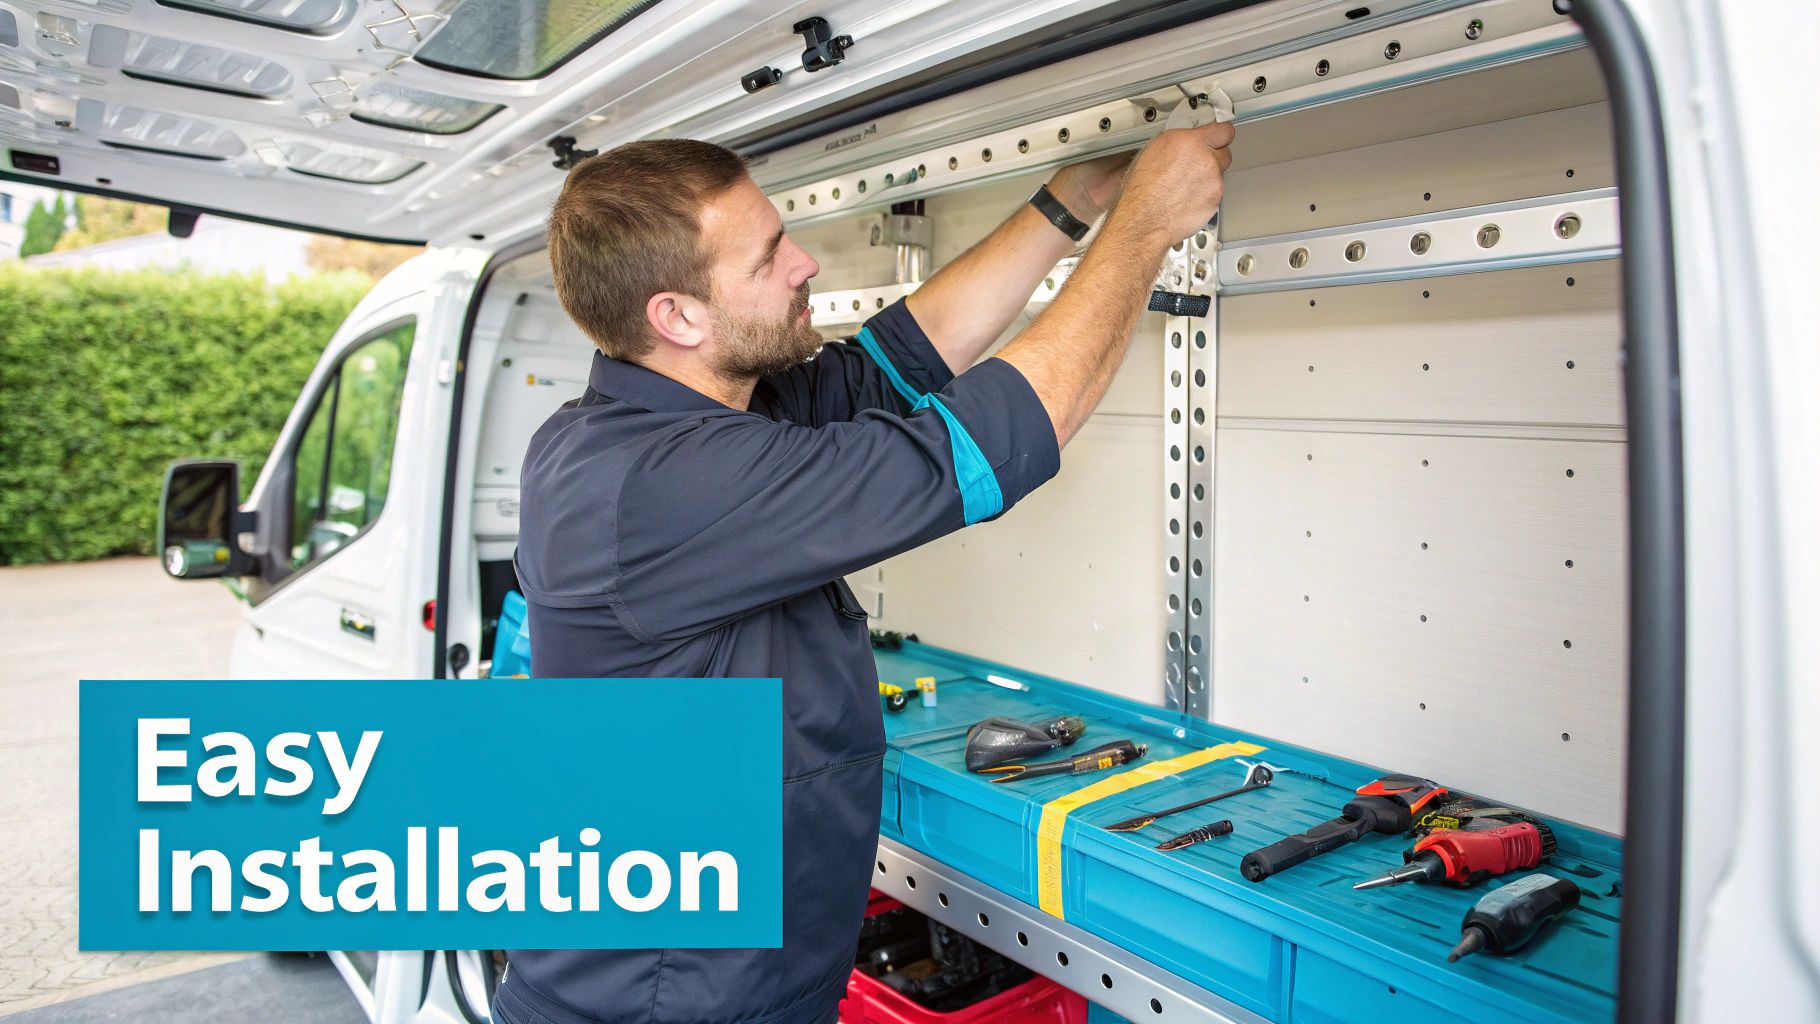
Once you’ve got a rough layout in mind, it’s time to choose the actual hardware. This is where you really need to balance your budget, the van you drive, and what you do day-in, day-out. Not all van racking metal is built the same, and the market really breaks down into two camps: off-the-shelf universal kits and fully bespoke modular systems.
Universal kits are the “one-size-fits-most” option you’ll see online. They’re definitely cheaper upfront, which can be a real draw if you’re just starting out or working with a tight budget. They get you organised fast. The downside? Their generic design almost always means you’ll have to live with compromises, whether that’s wasted space or a setup that isn’t quite right.
Bespoke modular systems, from brands like Bott or System Edstrom, are a different beast entirely. These are designed specifically for your van model and your trade. Yes, the initial investment is higher, but the payoff comes from a perfect fit and a workflow that actually makes your job easier.
Off-the-Shelf vs Bespoke Modular Racking
So, which way should you go? It really comes down to your business priorities. A universal kit gets the job done, but a modular system is an investment in how you do your job.
| Feature | Off-the-Shelf Universal Kits | Bespoke Modular Systems |
|---|---|---|
| Fit & Finish | Generic fit, often leaves gaps and might need tweaking. | Precision fit, made for your exact van model. No wasted space. |
| Customisation | Limited. What you see is what you get. | Hugely customisable with drawers, bins, and accessories. |
| Initial Cost | Lower | Higher |
| Long-Term Value | Good | Excellent. Better workflow and durability pay for themselves. |
| Best For | New businesses, tight budgets, or very basic storage needs. | Established professionals looking for maximum efficiency. |
Matching the Racking to Your Trade
The best van racking metal setup is a direct reflection of the tools and materials you use every single day. Let’s be honest, an electrician’s needs are a world away from a plumber’s, and your racking has to match that reality.
An electrician, for instance, needs dozens of small, organised compartments for everything from terminals and connectors to testing gear. For them, a system packed with shallow drawers and tiltable storage bins is gold. It’s all about finding that one tiny, crucial component without tipping out three other boxes.
A plumber or gas engineer, on the other hand, needs seriously robust shelving for bulky fittings and heavy tools. They’ll also need clever solutions for carrying long lengths of pipe or copper tube. Their ideal setup is less about tiny compartments and more about strong, open shelf space and specialised holders.
It’s no wonder these systems are in such high demand. The number of vans on UK roads has exploded, with the van fleet in Greater Manchester alone jumping by 59%. This has been fuelled by the boom in home deliveries and skilled trades. If you’re interested in the numbers, you can dig into the details in this technical note on the UK van sector.
For any trade that handles countless small components, getting the containers right is just as important as the frame itself. You can find some brilliant options to keep small parts sorted by looking at dedicated storage bins made from metal. Taking the time to invest in a system that genuinely works for you will pay you back in saved time and less hassle for years to come.
Getting Your Hands Dirty: A Practical Guide to Installing Steel Racking
Right, this is the part where all that careful planning pays off. You’ve got your layout sorted, and now it’s time to get the van racking metal system physically installed. This isn’t a job to rush. A secure, solid installation is absolutely critical for safety on the road and making sure your setup lasts.
Prepping the Van for a Professional Fit
Before you even think about picking up a spanner, you need to prepare the van itself. Get everything out of the cargo area and give it a thorough clean. A clean workspace isn’t just about being tidy; it lets you see exactly where your fixing points are on the floor and walls, which is essential for getting things right. Rip out any old flooring or liners that are going to get in the way.
Next, carefully move your racking components into the back of the van. Lay everything out roughly where it’s going to live, just like you planned. This is your final chance to do a ‘dry run’ before drilling a single hole. Check that the doors open fully and that you haven’t accidentally covered any of the van’s built-in anchor points.
Assembling and Fixing the Racking
With everything in position, you can start putting the frames together. Stick to the manufacturer’s instructions like glue, but only hand-tighten the bolts for now. This gives you a little bit of wiggle room to make minor adjustments as you connect the units. Don’t go tightening everything down until the main frames are built and perfectly positioned.
Now for the most important part of the entire job: fixing the racking to the van. Your units must be securely bolted to the vehicle’s structural frame or reinforced points. Never, ever just fix them to the thin sheet metal skin. Most modern vans come with pre-drilled, reinforced fixing points just for this purpose. Your job is to find them and use them.
Seriously, don’t just drill into the floor or walls wherever you fancy. Attaching a heavy metal rack loaded with tools to a bit of ply-lining or a thin panel is a disaster waiting to happen. One emergency stop and the whole lot could tear free, turning your gear into deadly projectiles.
This quick visual guide sums up the key stages for a solid installation.
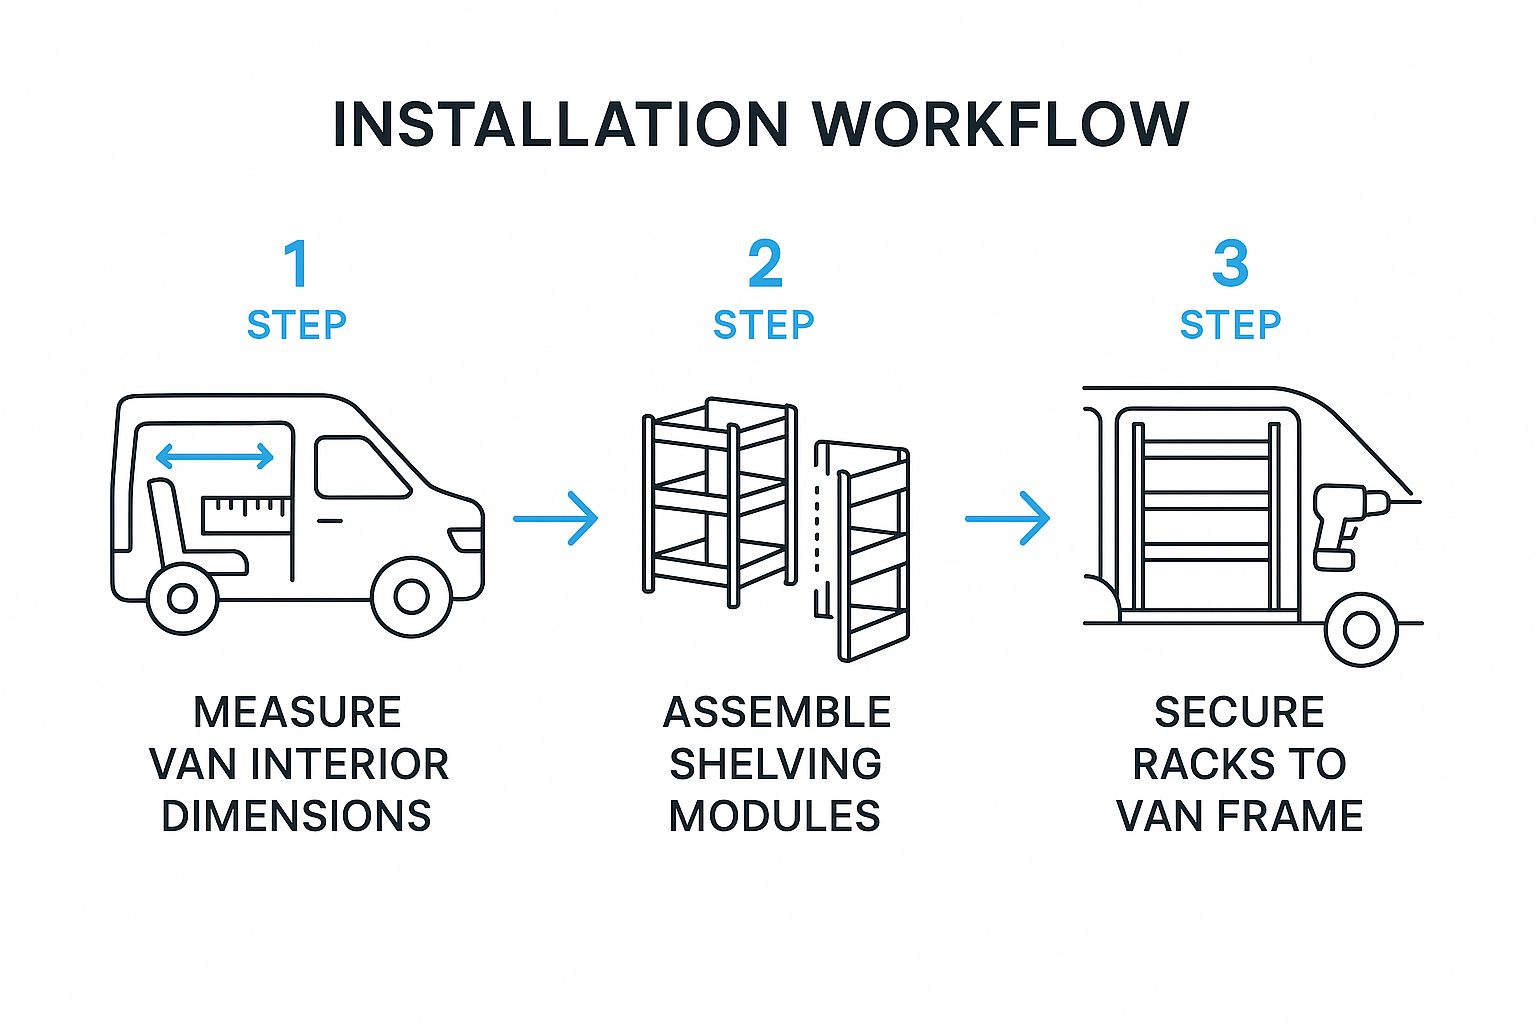
As you can see, it’s a logical flow from measuring up to the final checks. Each step really does build on the one before it.
The Finishing Touches
Once the main frames are solidly bolted to the van’s chassis, you can go back and properly tighten all the assembly bolts on the racking itself. If the manufacturer gives you torque specs, use a torque wrench to get it spot on. Now for the satisfying bit: slotting in the shelves, drawers, and all your other custom bits.
Don’t forget about the other components that complete the system:
- Steel Bulkhead: If your van doesn’t have one, this is a top priority. A professionally fitted steel bulkhead creates a solid barrier between you and your cargo, which is a must-have for safety.
- Anti-Slip Flooring: A good, heavy-duty floor gives you grip and stops the van’s original floor from getting battered. It’s best to fit this before the racking for a much cleaner finish.
- Drawer Units: These are often the last pieces you’ll fit. For some great tips on getting the most out of them, have a look at our guide on maximising efficiency with workshop drawers.
By taking your time and doing things methodically, you’ll end up with a van racking metal system that’s not only organised for your trade but also installed to the highest safety standards. That’s real peace of mind for every trip you make.
Maximising and Maintaining Your Metal Racking
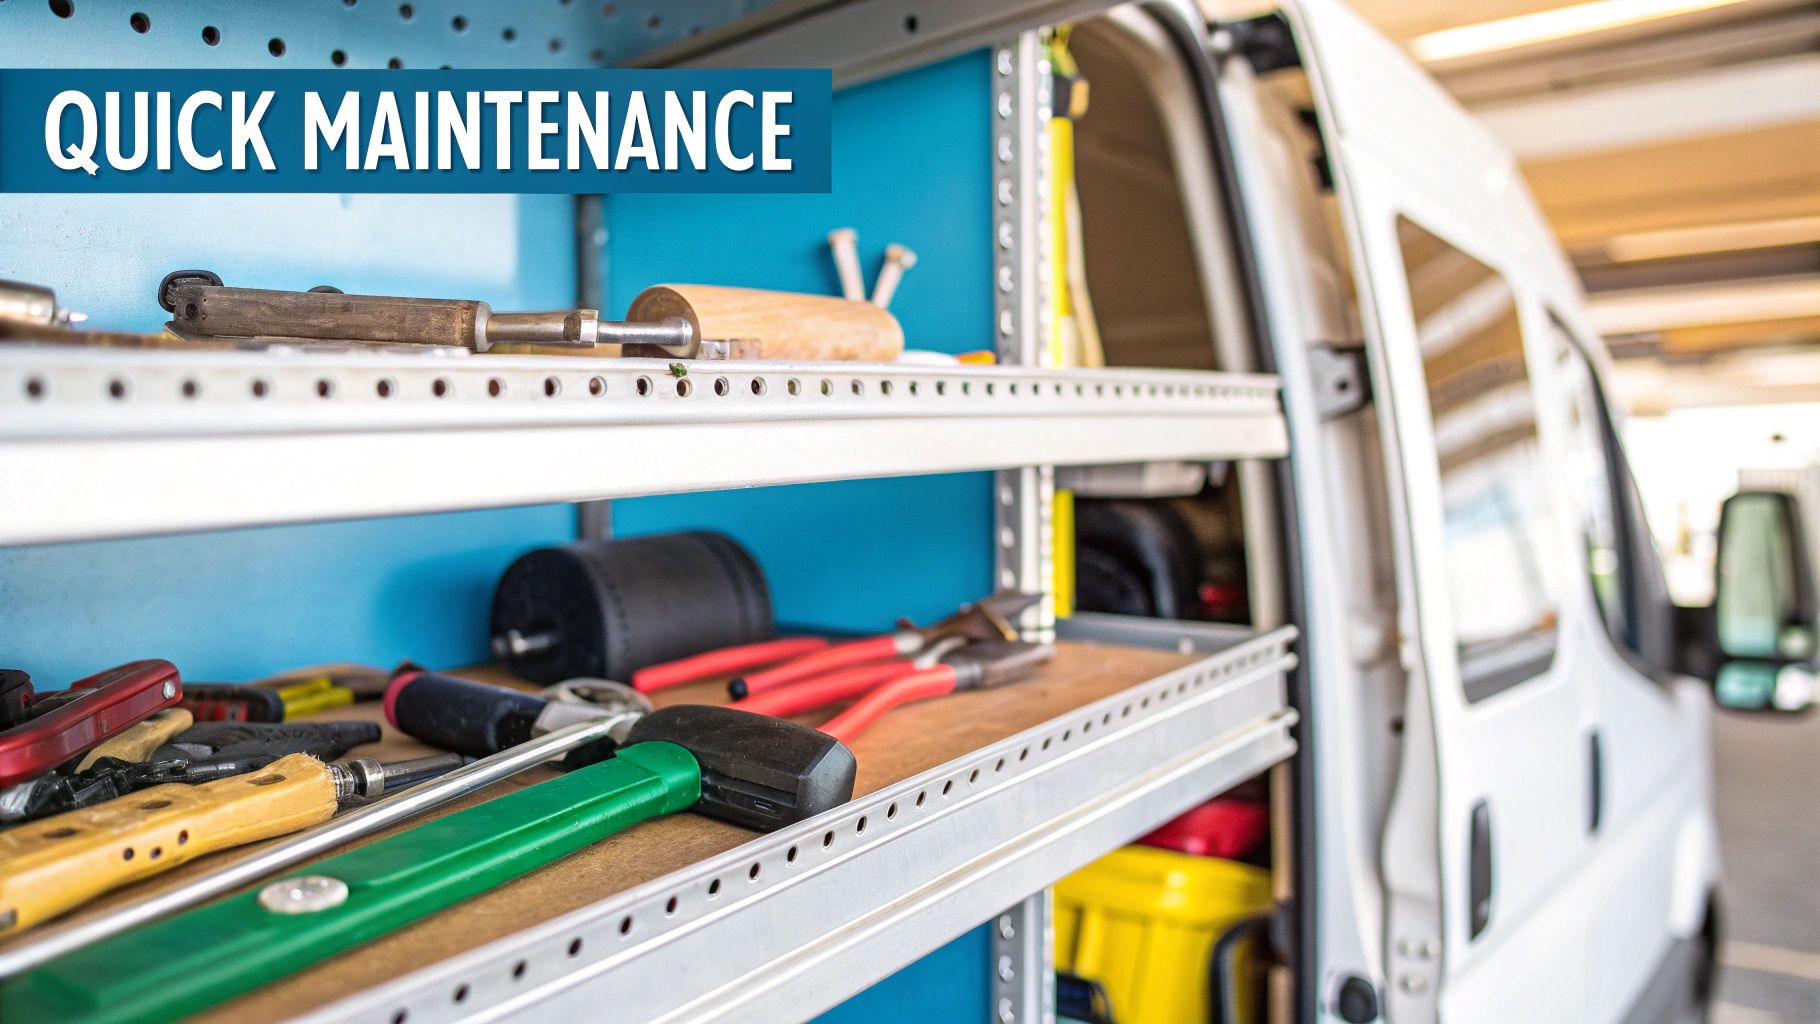
Right, your new van racking metal system is securely bolted in. That’s the first step sorted, but the real game-changer is how you use and look after it from here on out. The initial install is the foundation, but it’s the smart customisations and regular checks that will make it an essential part of your daily grind.
When you think about accessories, don’t think of them as just more stuff to buy. Think about what will make your job less of a faff. What about a small, fold-down vice on the end of a unit for slicing through a bit of pipe on site? Or lockable parts cases you can grab and take straight to the job, saving you endless trips back to the van? These are the small tweaks that genuinely boost your productivity.
Smart Upgrades for Daily Efficiency
Most good modular systems come with a brilliant range of add-ons. From my experience, these are some of the upgrades that make a real difference:
- Tilt-and-Lock Bins: Absolutely perfect for screws, fittings, and all those other small consumables. They keep everything locked down tight when you’re driving, then tilt forward so you can get your hands in easily when you’re parked up.
- Integrated Lighting: A few low-profile LED strips tucked inside your shelving bays can be a lifesaver. No more fumbling around for a tool on a dark winter morning.
- Paper Towel and Cable Holders: Simple, yes, but getting essentials off the floor and right where you need them makes a massive difference to how organised the van feels.
Your racking isn’t just a set of shelves; it’s a working system. The aim is to get it to a point where every single tool and component has its own dedicated spot. That’s when your van stops being just transport and becomes a proper workshop on wheels.
The choice of steel is what makes this whole setup so reliable. It’s still the number one material for UK van racking because it’s strong and doesn’t break the bank. However, steel prices can be unpredictable. You might remember that in 2022, price volatility contributed to UK vehicle output hitting its lowest level since 1956. This is something fleet operators have to juggle – balancing long-term durability with upfront cost. You can read more about the factors affecting the UK metal sector and its supply chain if you’re interested in the details.
A Simple Checklist for Long-Term Care
Finally, you’ve got to protect your investment with a bit of simple, routine care. It’s easy to forget, but it’s important.
Once a month, just take five minutes for a quick once-over. Get a spanner on the main bolts holding the rack to the van’s chassis and check they’re tight. Constant road vibrations can work things loose over time, so it’s a crucial safety check.
While you’re at it, give the drawers and shelves a quick eyeball for any signs of serious wear or damage. Just as you’d use specialised bins for your components, you can also explore other practical storage options like our tough wire racks and shelving. This little bit of proactive maintenance ensures your van racking metal stays safe, secure, and ready for work for years to come.
Right, so you’ve got a plan sketched out, but a few nagging questions are probably still bouncing around your head before you pull the trigger on a new metal racking system. That’s completely normal. Let’s run through some of the most common queries we get from tradespeople just like you.
Will All That Metal Overload My Van?
This is the big one, isn’t it? And it’s a smart question to ask. Your payload is everything. The good news is that the top manufacturers have put a serious amount of engineering into their steel systems to make them surprisingly lightweight for how strong they are.
For a typical medium-sized van, like a Transit Custom or a Vivaro, you’re usually looking at a racking setup weighing somewhere between 80-120 kg. Yes, that’s a chunk of your payload, but the gains in organisation and, more importantly, safety, almost always make it a worthwhile trade-off. The trick is simply to factor it in from the get-go. Know your van’s gross vehicle weight (GVW), subtract the racking weight, and you’ll know exactly what you’ve got left to play with for tools and materials.
Is DIY Installation a Good Idea?
Honestly, this comes down to your own skills and confidence. If you’re the type who’s comfortable with a drill and can follow a set of instructions to the letter, then you can absolutely get a professional-quality fit yourself. The most crucial part is getting a solid fix. You have to anchor the units to the van’s actual structure, not just the thin ply-lining.
That said, if you have even a sliver of doubt, just get a professional to fit it. These guys do this all day, every day. They know every single van model inside and out and can pinpoint the reinforced fixing points in their sleep. It’s quick, hassle-free, and you know it’s 100% safe.
Are All Metal Racking Systems Crash Tested?
Definitely not, and this is a massive point to understand. Those cheap, no-name kits you see online? They rarely have any safety testing to back them up. On the other hand, brands like Bott or System Edstrom pour a lot of money into putting their systems through proper, independent crash tests.
When you’re shopping around, make this one of your first questions. Ask for proof of safety standards, like ECE R17. A properly tested van racking metal system is engineered to keep a heavy generator or a box of fittings locked in place during a crash, not flying towards the back of your head. It’s one area where you really shouldn’t cut corners.
Ready to transform your mobile workspace with a system built for durability and efficiency? The expert team at TEMA Solutions Limited can help you design and select the perfect storage solution for your trade. Explore our industry-leading workbenches, cabinets, and shelving systems at https://tema-solutions.shop and build a better workshop today.


