



When you think about organising a workshop, think of your storage system as its skeleton. It’s the framework that holds everything together, and it needs to be strong, adaptable, and efficient. That’s precisely what you get with wire rack shelving—a system of tough vertical posts and adjustable wire shelves built for pure utility.
What Makes Wire Rack Shelving a Smart Choice
Imagine traditional wooden or solid steel shelving. It’s like a solid brick wall – strong, for sure, but also bulky, dark, and a great place for things to get lost at the back. Wire shelving is a different beast altogether. It’s more like a high-strength industrial net, offering incredible load-bearing capacity while letting light and air flow right through. This simple difference completely changes how your storage works.
That open-wire construction isn’t just for looks; it’s a deliberate design feature that brings some serious practical advantages to the table, making it a standout choice for most workshop settings.
The Power of an Open Design
The gaps between the wires are the secret sauce. They deliver a set of benefits that you just can’t get from a solid shelf.
- Better Airflow: In a British workshop or garage, damp is often a real concern. The open design keeps air moving freely around your tools and materials, stopping moisture from getting trapped and helping to fend off rust and mildew.
- Superior Visibility: You can see what’s on the shelves from almost any angle, even from below. This makes finding that specific tool, box of screws, or can of finish so much faster, saving you time and frustration.
- Less Dust: Dust, sawdust, and other workshop debris simply fall through the gaps instead of building up on a solid surface. This means a cleaner space with a lot less cleaning required.
A Foundation of True Versatility
The real genius of this system is how simple and modular it is. It’s built from just two main parts, but together they create an incredibly customisable and sturdy backbone for your entire workspace.
At its heart, the concept is straightforward: strong vertical posts and shelves you can place anywhere you want. It’s this modular design that lets you use the same system for storing hefty engine parts one day and delicate electronics the next.
The upright posts are grooved at regular 1-inch intervals. This allows you to lock the shelves in at precisely the height you need, making space for everything from tall power tools to flat trays of components. You’re never stuck with a fixed layout. If your storage needs evolve, you can reconfigure the entire setup in minutes with no special tools required. This adaptability makes wire rack shelving a genuinely smart investment that grows with you and your workshop.
How to Choose the Right Materials and Finishes

The long-term performance of your wire shelving all comes down to two things: the base material and its protective finish. While pretty much all quality units start with a strong steel core, it’s the coating that really protects that steel from the day-to-day realities of your workshop. Getting this combination right is the secret to making sure your investment stands up to rust, corrosion, and general wear and tear for years to come.
Think of the finish as the rack’s armour. You wouldn’t wear a light jacket in a downpour, and you shouldn’t expect the same finish to perform well in every single setting. You have to match the finish to the specific conditions of your workspace; it’s absolutely vital for durability and safety. A mismatch can lead to rust setting in far too early, which ruins the look and, more importantly, weakens the entire structure.
Understanding Chrome Plating
Chrome is probably the finish you see most often, famous for its brilliant, mirror-like shine. It’s made by electroplating a thin layer of chromium onto the steel frame. What you get is a hard, durable surface that’s very good at resisting scratches and scuffs, making it a fantastic choice for high-traffic areas where you want things to look sharp.
But chrome has a clear Achilles’ heel: moisture. In damp or humid environments, like a typical UK garage or a wash-down area, any tiny scratch or chip in the plating can expose the steel underneath. That’s all it takes for rust to get a foothold.
- Best For: Dry storage areas, retail displays, office supply rooms, or climate-controlled workshops where appearance is a priority.
- Avoid In: Damp basements, walk-in coolers, dishwashing areas, or any space with high humidity or direct contact with water.
For busy workshops needing to sort smaller components, chrome wire baskets are a really popular choice. They give you great visibility and easy access, perfect for things like plumbing fittings or electrical connectors. But again, their lifespan depends entirely on being kept dry.
The Toughness of Epoxy Coatings
When your shelving needs to handle more challenging conditions, epoxy is what you’re looking for. An epoxy finish is a thick, tough layer of polymer resin that’s literally baked onto the steel. It’s like giving the rack a solid, sealed plastic shell that’s incredibly good at resisting moisture, chemicals, and rust.
This resilience makes it the go-to choice for places where humidity, changing temperatures, and potential spills are just part of the job. It’s no surprise that you see epoxy-coated wire shelving everywhere in commercial kitchens, cold storage, and industrial workshops.
Epoxy creates a non-porous barrier that seals the steel from the elements. This makes it the go-to choice for almost any environment where chrome would quickly fail, offering a far more robust and long-lasting solution against corrosion.
While you’ll often see it in black or green, epoxy can come in other colours. This finish is less about looking pretty and more about pure, functional performance in tough spots. It’s the true workhorse of the wire shelving world.
The Ultimate Defence of Stainless Steel
For the absolute highest level of protection against corrosion and contamination, nothing beats stainless steel. Unlike coatings that are just applied to the surface, stainless steel is an alloy. Its anti-corrosive properties are built right into the metal itself. Chromium is mixed directly into the steel, creating a passive layer that naturally resists rust, chemicals, and pitting.
This makes stainless steel wire shelving the premium choice for the most demanding jobs.
- Medical and Laboratory Settings: Where absolute hygiene and resistance to harsh sterilising chemicals are non-negotiable.
- Food Processing Environments: Essential for meeting strict health and safety standards.
- Extreme Chemical Exposure: The best defence in workshops that handle corrosive materials.
Its supreme durability comes with a higher price tag, of course. But for those mission-critical applications where you simply can’t afford failure, the investment is easily justified. To round out your setup, think about what you’re putting on the shelves; for robust management of small parts, have a look at our guide to durable storage bins made from metal. This combination ensures every single part of your system is built to last.
Finding the Perfect Configuration for Your Workshop
Choosing the right wire shelving is a bit like picking the right tool for a job. You wouldn’t use a hammer when you need a screwdriver, and a static shelving unit just won’t cut it in a workshop that’s constantly changing. Your space has its own rhythm and demands, so your storage needs to be configured to match them perfectly.
The trick is to align the shelving type with your day-to-day workflow. Let’s walk through the main configurations to help you find that perfect fit. Each one brings something different to the table, and knowing the pros and cons is key to building an organised, efficient, and safe workspace.
Freestanding Units: The All-Rounder
When you imagine wire shelving, you’re probably picturing a freestanding unit. These are the bread and butter of the storage world—vertical posts and shelves that stand on their own. Their biggest draw is the fantastic balance they strike between serious strength and dead-simple setup. You can pop them wherever you’ve got floor space, creating handy storage islands or lining them up neatly against a wall.
Because they aren’t bolted down, they offer a good deal of flexibility. If you decide to shuffle your workshop around next year, you just need to empty the shelves and move the whole unit. This makes them a rock-solid choice for workshops that need tough, dependable storage but might need to adapt their layout in the future.
Key Takeaway: Think of freestanding units as the reliable workhorses of workshop storage. They deliver excellent weight capacity and placement freedom, making them the go-to for most general-purpose jobs, from stashing heavy tool cases to organising bins full of parts.
Wall-Mounted Racks: The Space Saver
But what if floor space is at a premium? In a tight garage or a narrow stockroom, every square foot is gold. This is exactly where wall-mounted wire racks come into their own. By fixing the shelves directly onto the wall studs, you get your entire floor back, making the whole area feel more open and less cluttered.
This setup is perfect for storing items you need to grab often, without having to step around a floor unit. It’s like putting your walls to work. It’s a brilliant way to keep regularly used chemicals, lubricants, or smaller hand tools right above your workbench—within arm’s reach but off your main work surface. The main trade-off, of course, is that they’re fixed in place and require a more careful installation, as they must be anchored securely.
Mobile Shelving: The Ultimate in Flexibility
For workshops where things are always on the move and materials need to follow the workflow, mobile shelving is the answer. At their core, these are just freestanding units on wheels—or heavy-duty castors, to be precise. This simple change transforms them from a static storage point into an active part of your process.
Imagine wheeling a whole rack of components directly to the vehicle you’re servicing, or moving your entire tool collection across the workshop for a specific job. That kind of mobility can slash wasted time and effort. Most mobile units come with locking castors, so they stay firmly in place once you’ve rolled them where you need them. While their weight capacity is sometimes a touch lower than a similar freestanding unit to handle the stress of movement, the boost to your workflow efficiency is often well worth it.
For a wider perspective on optimising your entire space, you can also check out our detailed guide on effective warehouse storage solutions.
To make the choice clearer, this table lays out the key differences between each configuration, helping you match the right type to your workshop’s specific needs.
Wire Shelving Configuration Comparison
| Configuration Type | Best For | Mobility | Typical Weight Capacity | Installation Needs |
|---|---|---|---|---|
| Freestanding | General-purpose storage, heavy items, flexible floor plans | Low (can be moved when empty) | High | Minimal; assembly only |
| Wall-Mounted | Saving floor space, storing frequently accessed items above workbenches | None | Moderate to High | High; requires secure wall anchoring |
| Mobile (with castors) | Dynamic workflows, moving tools/parts to the job | High | Moderate | Minimal; assembly only |
As you can see, the best option really depends on whether you prioritise raw strength, floor space, or pure mobility.
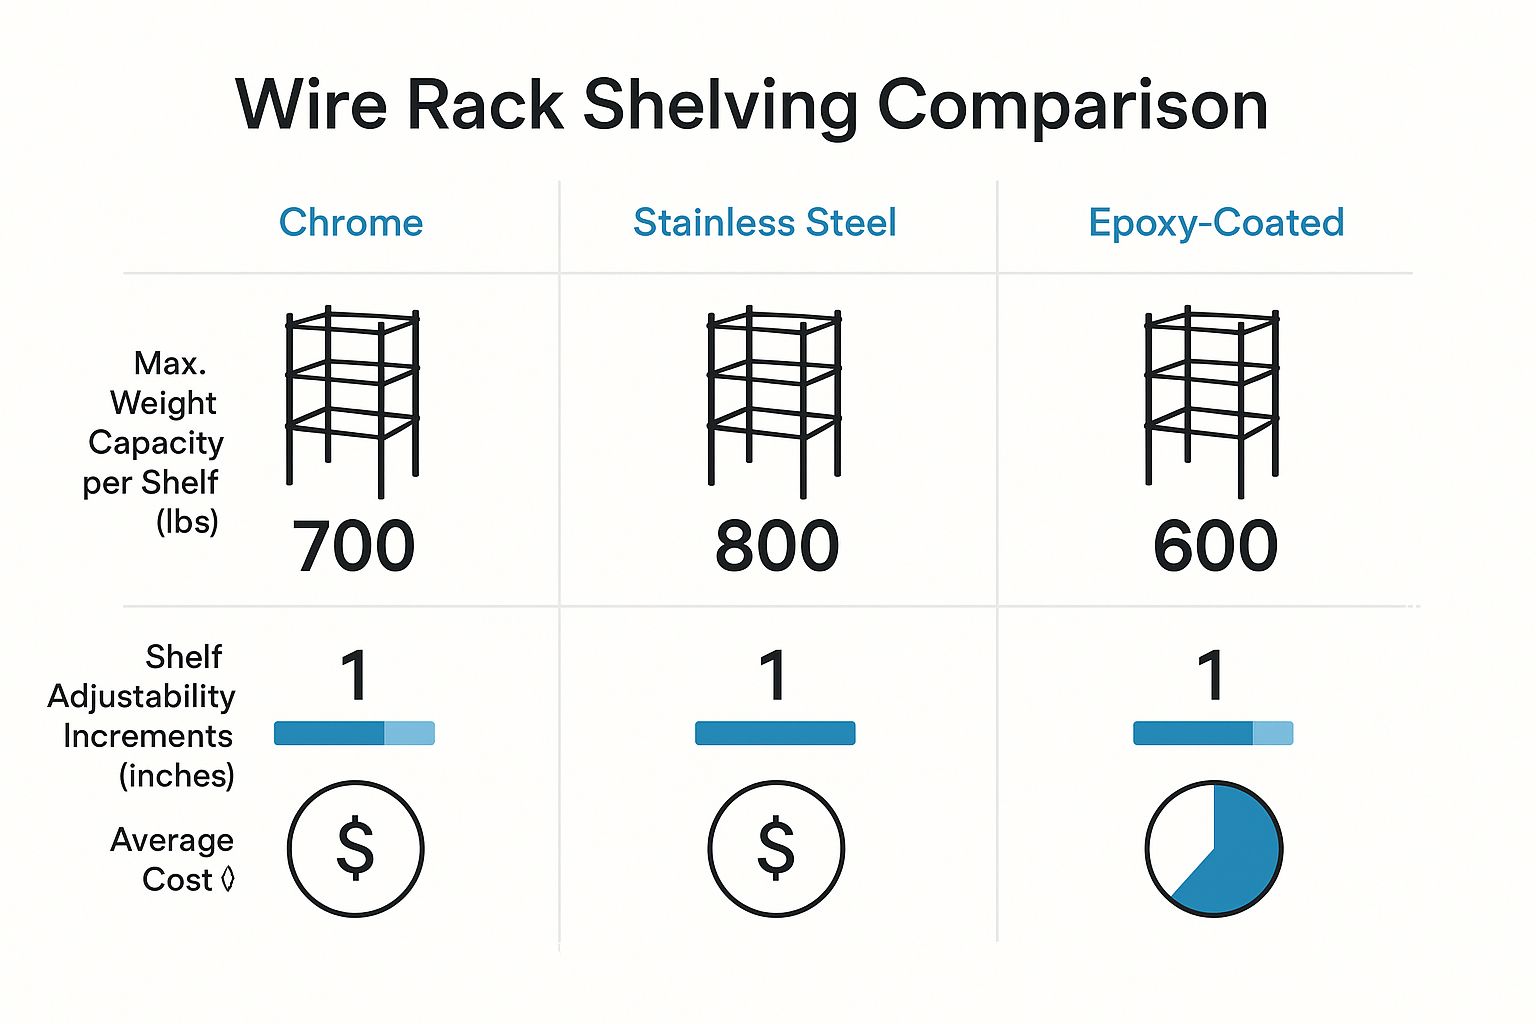
Ultimately, a great workshop setup often mixes and matches. Beyond open shelving, think about how other storage can improve your organisation. For instance, you might want to look into lockable cabinet storage solutions to secure valuable tools and sensitive gear. Combining systems is the secret to creating a space that’s truly customised, efficient, and secure.
Understanding Weight Capacity and Key Features
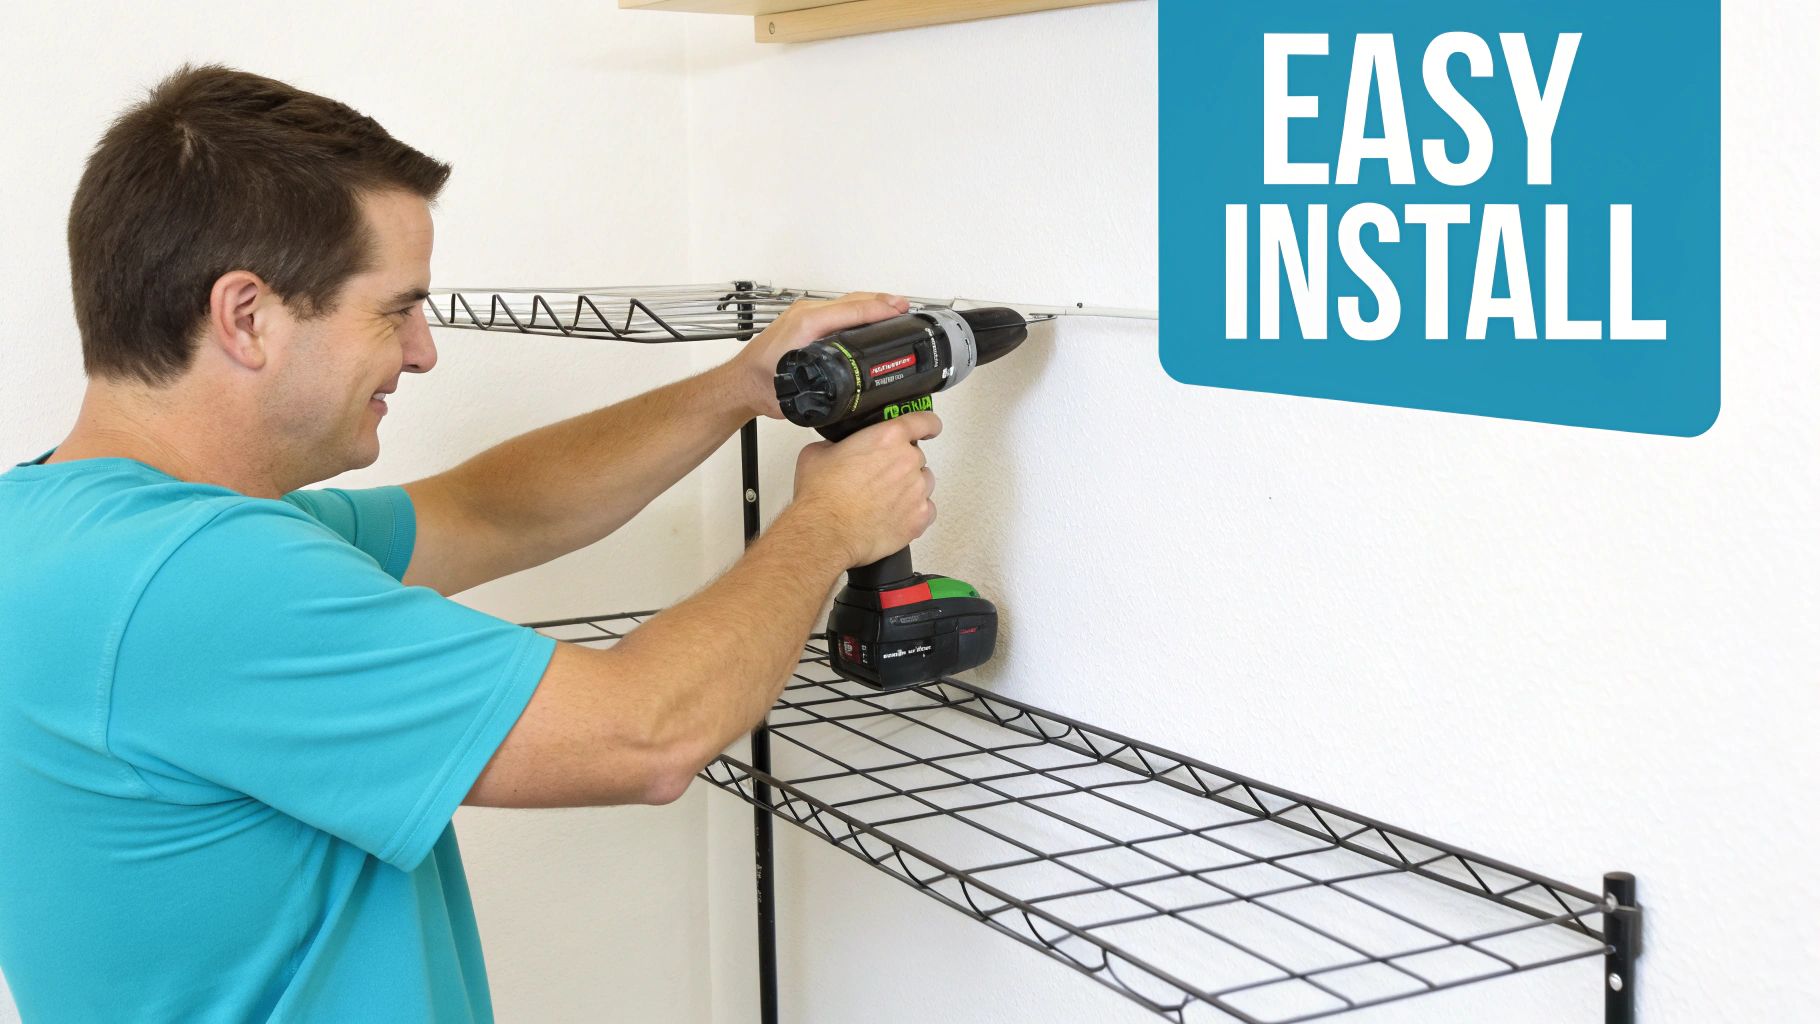
When you’re shopping for wire racks, it’s easy to get tunnel vision, focusing only on the dimensions and the price tag. But the single most important factor for safety and performance is its weight capacity. How much can that shelf really hold before it starts to bend, sag, or worse, fail completely?
Getting to grips with the numbers and features that dictate a unit’s strength is crucial. It’s the difference between buying a rack that looks the part and investing in a system genuinely engineered for the heavy-duty reality of your workshop.
Demystifying Weight Capacity
Manufacturers always list a weight capacity, but that number isn’t as simple as it looks. It almost always refers to a Uniformly Distributed Load (UDL), and understanding what that means is non-negotiable for safe loading.
Think of it this way. Imagine you’ve got a heavy gearbox and you plonk it right in the centre of a shelf. All that weight is focused on a tiny footprint, putting massive stress on just a few wires. That’s a concentrated load, and it’s a fast track to a bent shelf.
Now, picture spreading that same weight across the whole shelf using several smaller, lighter boxes. That’s a uniformly distributed load. By spreading the load, you’re making sure no single point is taking all the strain, which allows the shelf to hold its maximum rated capacity safely.
A shelf rated for 250 kg can hold that weight, but only if the load is spread evenly. Placing a single 250 kg item in the middle is asking for trouble and could cause it to fail. Always distribute your heaviest items.
This isn’t just a recommendation; it’s a fundamental principle of workshop safety. Overloaded or poorly loaded shelves are one of the biggest causes of storage failures.
Spotting the Signs of a Quality Build
Beyond the UDL rating, you can tell a lot about a shelving unit by its physical features. When you’re comparing options, look closely for these tell-tale signs of good engineering and durability. These are the details that separate a flimsy, light-duty rack from a proper industrial workhorse.
Here’s what really matters for long-term reliability:
- Reinforcing Trusses: Flip a shelf over and look underneath. Good quality wire racks shelving will have extra wire trusses welded from front to back. These act like the support beams under a bridge, drastically reducing sag and channelling the weight out towards the strong vertical posts.
- Post Gauge and Diameter: The thickness of the steel posts is a direct measure of strength. Thicker-gauge steel and wider posts (say, 25mm in diameter) create a much more stable foundation and boost the entire unit’s weight capacity.
- Weld Quality: Take a close look at where the wires meet the shelf frame. The welds should be clean, consistent, and look complete. Sloppy welds with gaps or spatter are weak spots just waiting to break under pressure.
- Adjustable Levelling Feet: Most workshop floors aren’t perfectly flat, and an uneven base can make a shelving unit dangerously wobbly. Quality systems come with threaded feet that you can adjust individually. This lets you get the unit perfectly level and stable, ensuring weight is transferred straight down the posts as it should be.
Once you know how to spot these features, you can make a much smarter choice. You’ll be able to pick a shelving system that isn’t just built to hold your gear, but to do it safely and without failing you for years.
Assembling Your Shelving Without the Headache
So, you’ve just unboxed your new wire racks shelving, and it looks a bit like a giant metal puzzle. Don’t worry, it’s much simpler than it appears. The secret to a quick, stress-free build isn’t about brute force; it’s about a little bit of prep and a logical approach. With the right strategy, you’ll have this sturdy new storage system up and ready in no time.
Before you even think about putting pieces together, give yourself plenty of room to work. Clear a good-sized space on the floor, unpack everything, and lay it all out. Now, find the parts list in the instructions. Take five minutes to check that you have all the posts, shelves, and little plastic sleeves. Trust me, this simple check now can save you a world of frustration later.
The Core Assembly Process
One of the best things about most wire shelving systems is that they’re designed to be assembled without any special tools. That said, a rubber mallet will be your best friend for getting the shelves properly seated. The real magic lies in the small, tapered plastic sleeves that lock onto the posts.
Here’s the basic method for a smooth build:
- Attach the First Sleeves: First, decide how high you want your bottom shelf. Snap a pair of plastic sleeves into the grooved ring on one of the upright posts. You’ll notice a “TOP” arrow on the sleeves – make sure it’s pointing up and that they click snugly into the groove.
- Match the Height: Now, do the same for the other three posts. The easiest way to get them perfectly level is to count the indented rings from the bottom of the post. An uneven start will throw the whole unit out of whack.
- Seat the First Shelf: Grab your first shelf and carefully slide it down over the four posts until it sits flush on the plastic sleeves. This is where the rubber mallet comes in. Give each corner of the shelf a firm but gentle tap, right over the top of the post. This action wedges the shelf collar down onto the sleeves, locking it tight and creating a solid foundation.
- Repeat and Build Upwards: From here, it’s just a matter of repeating the process. Add your next set of sleeves and the next shelf, working your way up the unit. It’s far easier than trying to wrestle the top shelf into place at the very end.
Following these steps ensures your shelving unit remains square and stable from the ground up.
Pro Tips for a Perfect Finish
Getting the basics down is great, but a couple of insider tricks can make the assembly even easier. Let’s say you put a shelf at the wrong height. Don’t try to yank it off with sheer strength. Instead, use your rubber mallet to tap the shelf upwards from underneath, right at each corner. This will gently loosen the collar’s grip, letting you reposition it without a fight.
The single most important step for any tall shelving unit, especially in a busy workshop, is to anchor it to the wall. This is a non-negotiable safety measure. It prevents the unit from tipping over if it gets bumped or loaded unevenly, which can be a serious hazard.
Most good-quality kits include wall-anchoring hardware for this very reason. Make sure you secure the straps or brackets to a solid wall stud, not just the plasterboard. This final touch will ensure your wire racks shelving is completely stable and safe for everyone.
Simple Maintenance for Long-Lasting Durability
Your wire racks shelving is a proper workhorse, built to handle the daily grind of a busy workshop. But like any quality piece of kit, a bit of preventative care will go a very long way. A simple maintenance routine is all it takes to extend its life, keep it safe, and ensure it looks the part for years.
Think of it as a quick MOT for your storage. Spending a few minutes cleaning and inspecting it every so often can stop tiny issues from snowballing into major headaches. It’s not just about protecting the shelving, but also the valuable tools and materials you trust it to hold.
Regular Cleaning Routines
The open-wire design is great for minimising dust build-up, but a regular wipe-down is still vital. It helps preserve the finish and gives you a chance to spot any potential problems early on. How you clean it really depends on the finish of your unit.
- Chrome Finish: For day-to-day dusting, a dry, soft microfibre cloth is your best friend. If you’ve got some stubborn grime, a slightly damp cloth will do the trick. The key here is to avoid harsh chemicals or abrasive cleaners at all costs, as they can easily scratch the chrome plating and let moisture get to the steel underneath.
- Epoxy Coating: This finish is a bit tougher and can handle more. A mild, all-purpose cleaner diluted in warm water is perfect. Just wipe the shelves down and—this is the important bit—dry them thoroughly afterwards to stop water from pooling.
- Stainless Steel: To keep that classic shine, a dedicated stainless steel cleaner works wonders. It’ll get rid of fingerprints and water spots while adding a protective layer.
This quick cleaning schedule is also the perfect excuse to have a bit of a tidy-up. If you’re looking for more ways to get your gear in order, have a look at our guide on innovative storage for tools.
Conducting Quick Safety Checks
Beyond a good clean, a regular visual inspection is your number one defence against structural problems. Just take a moment to look for any signs of trouble. It lets you step in before a small fault can compromise the whole unit’s integrity.
A quick walk-around is all it takes. Look at the unit from a few different angles and pay attention to the key stress points. This simple habit is fundamental to keeping your workshop safe and getting the best value out of your investment.
Keep an eye out for these things during your check:
- Look for Rust: Check the joints and welds carefully, especially on chrome units if your workshop gets a bit damp. Any sign of rust needs to be dealt with straight away.
- Check for Bent Wires: Scan each shelf for any bending or sagging. This is a dead giveaway that a shelf is overloaded or the weight isn’t spread out properly.
- Inspect Connections: Make sure every shelf is still sitting securely on its plastic sleeves. Give the unit a gentle push to check it’s stable and doesn’t wobble.
Fixing these minor issues is usually quite simple. If a shelf is sagging, just rearrange the items to distribute the weight more evenly. If the unit wobbles, adjust the levelling feet at the bottom until it stands firm. Catching these things early ensures your wire racks shelving remains a safe and reliable asset in your workshop.
Got Questions About Wire Rack Shelving? We’ve Got Answers.
Even after you’ve got your head around the materials and how it all fits together, a few practical questions always seem to surface once you start actually using your wire rack shelving. Getting straight answers to these common queries will help you make smarter decisions and get the most out of your setup, safely and effectively. Let’s dig into some of the questions we hear most often.
Can I Mix and Match Parts from Different Brands?
It’s a tempting thought, isn’t it? Especially when you’ve got a spare shelf or a few posts left over from an old unit. But the short answer is a firm no. You should never mix components from different manufacturers.
At first glance, they might look identical, but tiny, almost imperceptible differences in the post diameter, the spacing of the grooves, or even the precise angle of the tapered plastic sleeves can lead to disaster. A mismatched shelf simply won’t lock on as securely, creating a weak link that compromises the entire rack’s stability and load capacity. For your own peace of mind and safety, always stick with parts from the same brand.
Is Wire Shelving a Good Choice for Storing Electronics?
Absolutely. In fact, it’s one of the best options out there, all thanks to one key feature: airflow. The open-wire construction lets air circulate freely around your equipment, which is crucial for pulling heat away from sensitive electronic components. This gives it a real edge over solid shelving, which can trap heat and shorten the life of your gear.
The only potential snag is the gaps between the wires, where small cables, plugs, or the feet on smaller devices can fall through. The fix is incredibly simple: grab a set of shelf liners. These are thin, rigid plastic mats, cut to fit, that sit right on top of the wire grid. They give you a perfectly flat, solid surface without sacrificing that all-important airflow from the sides.
Expert Tip: Think of shelf liners as the ultimate upgrade. They give your wire rack the versatility of a solid shelf for holding any item, no matter how small, while keeping the superior cooling benefits of the open-wire design.
How Do I Stop My Rack from Wobbling on an Uneven Floor?
Let’s face it, very few workshop or garage floors are perfectly level. A wobbly rack isn’t just annoying; it’s a genuine safety hazard. The good news is that any decent wire rack shelving system is built to handle this. Look at the bottom of each vertical post, and you’ll find adjustable levelling feet.
Once your unit is assembled, pop a spirit level on one of the lower shelves. Check it from front to back and then side to side. If it’s leaning, just give the threaded feet a twist—up or down as needed. A few minor adjustments to the legs are usually all it takes to make the unit rock-solid and stable, even on a wonky concrete floor.
What’s the Best Way to Clean Different Finishes?
Keeping your shelves clean is the key to making them last and look good for years to come. The right cleaning method, however, really depends on the finish.
- Chrome: A simple wipe with a dry or slightly damp microfibre cloth is all you need. Never reach for abrasive scourers or harsh chemical cleaners, as they can scratch the plating and open the door to rust.
- Epoxy: This hardy coating is a bit more forgiving. You can clean it with a mild, all-purpose cleaner diluted in water. Just be sure to wipe the shelves completely dry afterwards to prevent water spots.
- Stainless Steel: To get that professional gleam back, it’s worth using a dedicated stainless steel cleaner. It’ll cut through grime and fingerprints and restore that original shine.
A little bit of regular, gentle cleaning goes a long way in protecting your investment.
At TEMA Solutions Limited, we specialise in industrial-grade storage systems built for toughness and efficiency in demanding workshop environments. Discover our range of robust shelving and workstation solutions at https://tema-solutions.shop and start building a workspace that’s truly organised for productivity.


