


Industrial storage racks are the unsung heroes of any efficient warehouse. They're engineered to make the most of your space, keep inventory moving smoothly, and ensure your team stays safe. Let's be clear: this isn't just about putting up a few shelves. These systems are the critical infrastructure that underpins modern logistics.
Why Your Warehouse Racking Is More Than Just Shelving
It’s easy to think of industrial racks as simple furniture, but that’s a mistake. Picture them instead as the very skeleton of your warehouse – providing the strength, structure, and capacity for everything you do. Treating racking as a basic commodity overlooks its real purpose: it's a dynamic system, engineered to work hand-in-glove with your products, your equipment, and your unique workflow.
The right system can turn a cluttered, chaotic space into a high-performance logistics machine.
Get it wrong, though, and you’ll create bottlenecks, drive up labour costs, and introduce serious safety hazards. The choice you make isn't just a purchase; it's a strategic investment that directly impacts your bottom line. This guide is here to give you the foundational knowledge to make a smart decision, turning a simple buy into a long-term operational asset.
The Modern Demands on Storage Systems
The pressure for smarter storage has never been higher. The global market for industrial racking systems was recently valued at around USD 13.35 billion, and it’s expected to climb to USD 21.56 billion by 2032. This isn’t just a random number; it's fuelled by the relentless growth of e-commerce and the rise of just-in-time inventory models.
This massive growth reflects a clear need from UK businesses—whether in logistics, retail, or manufacturing—to find better ways of managing ever-increasing stock levels. You can dig deeper into the data on the industrial racking systems market to see these trends for yourself.
This surge means warehouses have to handle more items, more quickly, than ever before. Effective industrial storage racks are at the heart of meeting these demands. They help you to:
- Maximise Vertical Space: Go up, not out. Racking lets you dramatically increase your storage capacity without needing a bigger building.
- Improve Inventory Control: When everything has a place, it’s far easier to locate, track, and manage your stock. This cuts down on picking errors and boosts accuracy.
- Enhance Safety and Ergonomics: A well-designed system prevents accidents from falling goods and reduces the physical strain on your employees as they pick and pack.
A Strategic Asset for Growth
At the end of the day, your racking system is an investment in pure productivity. A well-thought-out layout cuts down the travel time for forklifts and staff, which means you can fulfil orders faster and with less risk of product damage. For businesses that aren't quite ready for a full-scale internal setup, exploring options like external business storage units can provide a flexible stepping stone while planning for the future.
Investing in the right industrial storage racks is not an expense; it is a direct investment in your company's operational capacity, safety, and ability to scale. It’s the foundation upon which efficient logistics are built.
Matching Racking Types to Your Inventory Needs
Walking into the world of industrial storage can feel a bit like learning a new language. You're faced with a dozen different systems, and at first glance, they might all seem the same. But here’s the secret: don’t try to memorise every term. Instead, think of each rack design as a specific solution to a common warehouse problem. It’s less about picking shelves and more about choosing the right tool for a very important job.
The best racking system should feel like a natural extension of your operation. It has to perfectly match what you’re storing—its size, weight, how quickly it moves—and the equipment you use to handle it. A one-size-fits-all approach is a recipe for wasted space, sluggish operations, and even safety hazards.
This image gives you a fantastic birds-eye view of how different racking types are laid out in a real-world warehouse setting.
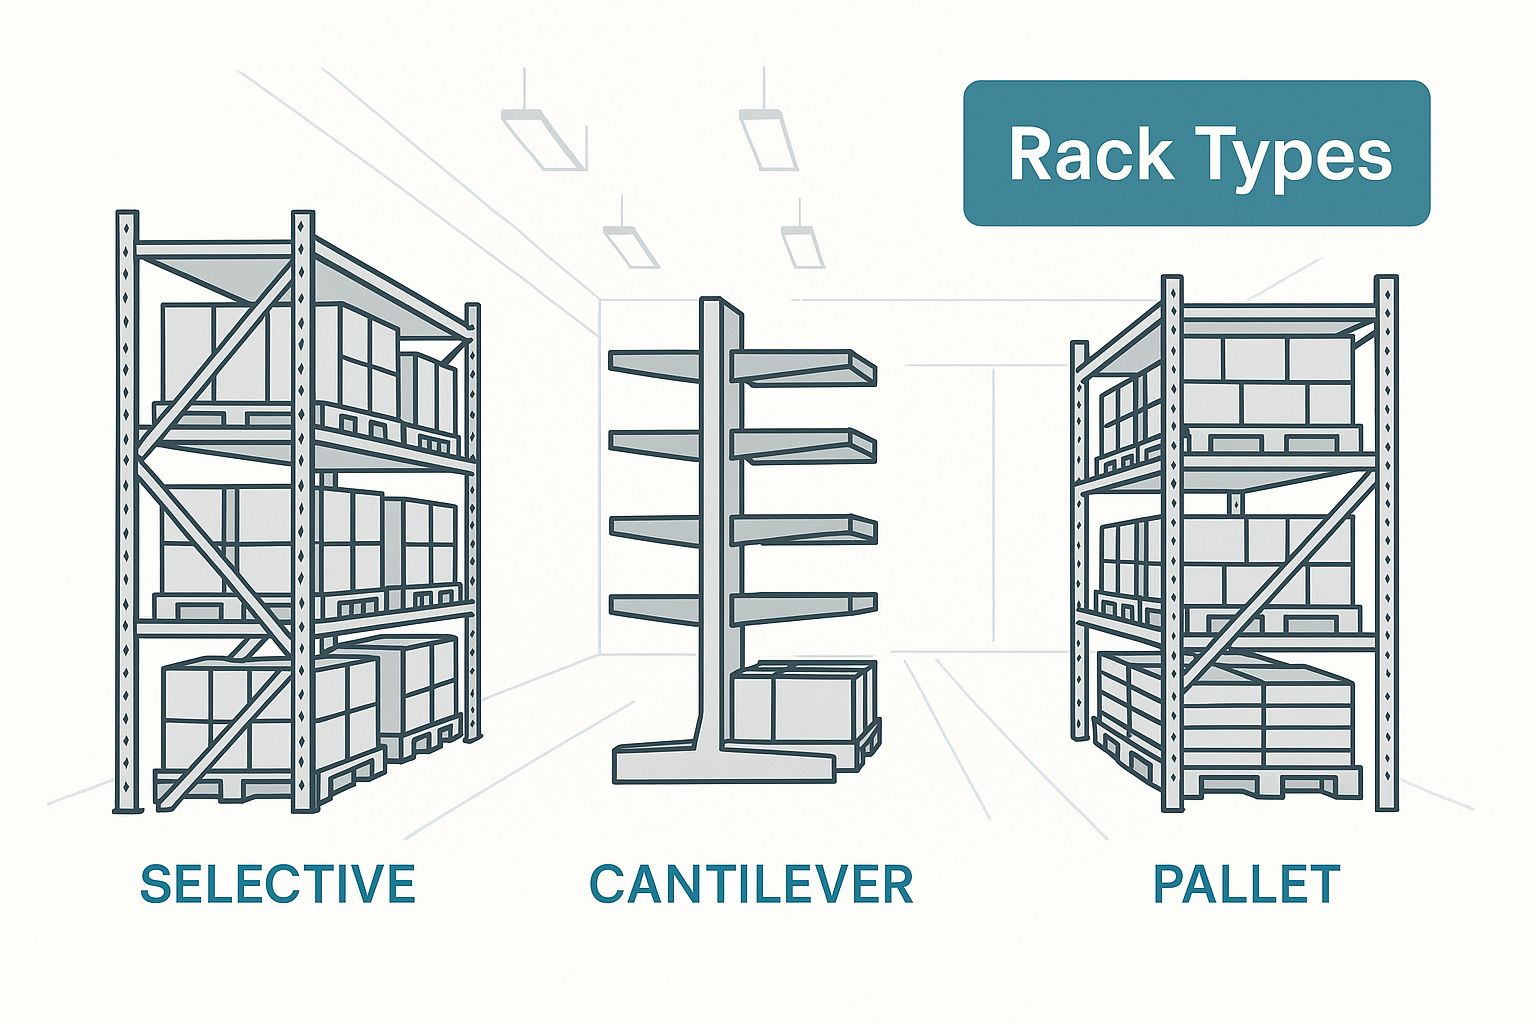
As you can see, the structure of each style is deliberately engineered for a specific purpose, whether that’s cramming in as much stock as possible or ensuring every single pallet is easy to reach.
To make sense of it all, here is a quick overview of the most common systems you'll encounter.
Industrial Storage Rack Systems at a Glance
| Rack Type | Best For | Storage Density | Accessibility |
|---|---|---|---|
| Selective Racking | High variety of products (SKUs), low volume per SKU, and fast turnover. | Low to Medium | Excellent (100% direct access) |
| Drive-In Racking | Storing huge quantities of identical, non-perishable goods (LIFO). | Very High | Low (last pallet in is first out) |
| Cantilever Racking | Long, bulky, or awkwardly shaped items like timber, pipes, or furniture. | Varies (specialised) | Excellent (unobstructed access) |
This table gives a snapshot, but let's dive into the specifics of what makes each system tick and where it truly excels.
The Versatile Workhorse: Selective Racking
If there's a 'jack-of-all-trades' in the racking world, it's selective racking. This is the system you'll spot in most UK warehouses, and for good reason. Its design is straightforward, effective, and incredibly flexible.
The superpower of selective racking is its 100% direct access to every single pallet. For businesses juggling a massive range of different products (SKUs) but only holding a small amount of each, this instant accessibility is a game-changer. You never have to shift one pallet to get to another, making it perfect for the fast-paced demands of e-commerce, retail, and third-party logistics (3PL) operations.
The trade-off? It’s not the most space-efficient option. Because you need an aisle for every single row of racking, a good chunk of your floor space is dedicated to access routes rather than actual storage.
The High-Density Champion: Drive-In Racking
When your goal is purely to store the maximum amount of a single product, drive-in racking is your champion. This system creates super-dense storage blocks by allowing forklifts to drive right into the racking lanes to place or retrieve pallets.
Drive-in racking works on a Last-In, First-Out (LIFO) basis. This means the last pallet you put into a lane has to be the first one you take out, which makes it perfect for non-perishable goods or products with a long shelf life.
A close cousin, drive-thru racking, allows access from both ends, which creates a First-In, First-Out (FIFO) workflow instead. Both are the go-to solution for:
- Bulk Goods: Storing huge volumes of identical products, like soft drinks or building materials.
- Cold Storage: Maximising every square metre of expensive, temperature-controlled space.
- Seasonal Inventory: Holding stock that arrives and ships out in large, uniform batches.
The catch for this amazing density is selectivity. You lose direct access to individual pallets tucked away in the lanes, and the structure is more vulnerable to damage from forklift impacts. If you're weighing your options, it's worth exploring the pros and cons of different storage racking system types in more detail.
The Specialist for Awkward Loads: Cantilever Racking
So, what do you do with items that are too long, bulky, or just plain weird for a standard pallet? This is where cantilever racking really shines. Instead of having vertical uprights at the front that create restrictive bays, this system uses a central column with arms extending outwards.
This open-fronted design is the ideal solution for storing materials like:
- Timber and lumber
- Steel pipes and bars
- PVC tubing
- Furniture and rolls of carpet
By getting rid of those front-facing obstructions, cantilever racks make it simple for forklifts to handle awkward items safely and efficiently. The arms are also adjustable, so you can customise the storage levels to fit the exact dimensions of your products, helping to prevent damage and keep everything organised.
The need for these specialised, efficient systems is a big deal in the wider market. The UK's warehousing and storage sector was valued at around £35.9 billion but actually saw a 3.3% decline over five years due to various economic headwinds. A recovery is now on the cards, with projections showing the market will reach £36.3 billion as operational efficiency becomes more critical than ever.
Calculating Load Capacity and Choosing Your Materials
Once you've settled on a rack type, we get into the nuts and bolts of safety and engineering. This is where we move past floor plans and into the hard physics of your operation. Getting a handle on load capacity isn’t just about ticking a regulatory box; it's about preventing the kind of catastrophic failure that puts people at risk and wipes out valuable stock.
Think of load capacity as the absolute weight limit for your racking, just like the payload of a lorry. Pushing past that limit, even by a little bit, puts the whole structure under immense stress. It’s surprisingly common for people to only factor in the weight of their products, completely forgetting about the pallet itself. A standard wooden pallet can easily add another 25 kg to the total load, and that small oversight, when multiplied across hundreds of pallet positions, creates a serious, hidden danger.
Nailing your calculations is the foundation of a safe, efficient, and long-lasting storage system.
How to Determine Your Racking Load Requirements
Figuring this out is more science than art. It demands an honest assessment of your heaviest inventory and your daily handling processes. A precise calculation ensures your industrial storage racks can comfortably manage your peak loads, with a healthy safety margin for peace of mind.
Here’s a straightforward way to build an accurate picture:
- Calculate Maximum Pallet Weight: Pinpoint the absolute heaviest pallet you will ever need to store. This isn’t about the average; it’s the worst-case scenario. Be sure to add the weight of the pallet to the weight of the goods it’s carrying.
- Determine Load Per Beam Level: Take that maximum pallet weight and multiply it by the number of pallets you plan to sit on a single pair of beams. For instance, if you’re storing two pallets that weigh 1,000 kg each, you’ll need a beam pair rated for at least 2,000 kg.
- Calculate Total Bay Load: Now, add up the weights from all the beam levels within one bay (the space between two upright frames). This number tells you how strong your uprights need to be to support the entire column of goods.
- Factor in Handling Equipment: Don't forget the machinery. The dynamic forces from forklifts and other handling equipment—the stopping, starting, lifting, and lowering—add extra stress to the racking structure that needs to be considered.
Remember: The official capacity for a beam pair is always based on the assumption that the weight is spread evenly. Piling everything onto one side or concentrating it in the middle creates dangerous stress points that can compromise the beam, even if you’re technically under the total weight limit.
With these figures in hand, you can specify a system with confidence. If you're looking at different systems, our guide to heavy-duty racks for storage offers some extra insight into solutions designed for the most demanding loads.
Choosing Your Core Material: Roll-Formed vs. Structural Steel
With your load calculations sorted, the next big decision is the steel itself. In the world of industrial racking, the choice really boils down to two options: roll-formed steel and structural steel. They might look similar at a glance, but they’re made very differently and are suited for very different jobs.
A good analogy is comparing a standard family car to an armoured truck. Both will get you from A to B, but one is clearly built to withstand a lot more punishment.
Roll-formed steel racking is your reliable family car. It's created by feeding flat sheets of steel through a series of rollers that progressively bend them into the final shape for uprights and beams.
- The Upside: It’s lighter, significantly more affordable, and quicker to install. This makes it the go-to choice for the vast majority of warehouses, from retail and e-commerce fulfillment centres to 3PL operations.
- The Downside: It’s more vulnerable to damage from forklift collisions. A solid knock can easily dent or twist a component, immediately compromising its ability to hold the stated load.
Structural steel racking, as you might guess, is the armoured truck. It’s forged from thick, hot-rolled steel channels that are bolted together to create an incredibly rigid frame.
- The Upside: It is exceptionally tough and offers far greater resistance to impacts. This makes it the only real choice for high-traffic, punishing environments like busy distribution centres, cold storage facilities, and any operation with constant, heavy forklift activity.
- The Downside: It’s much heavier, comes with a higher price tag, and the installation is a more involved process.
Ultimately, your choice should be dictated by your working environment. For a well-run warehouse with trained operators and a moderate pace, roll-formed steel is almost always the perfect, cost-effective solution. But if you’re in a fast-paced setting where bumps and scrapes from forklifts are a daily reality, the upfront investment in structural steel could save you a fortune in repairs—and prevent a disaster—down the road.
Designing a Safe and Productive Warehouse Layout
Even the best industrial storage racks in the world are only as good as the layout they're put in. A truly effective storage system goes far beyond the hardware itself; it’s about creating an entire ecosystem where your goods, equipment, and people can move safely and efficiently. The layout is the invisible force that sets the tempo for your whole operation.
Think of your warehouse floor as a city, and the racking layout as its road network. A well-planned grid lets traffic flow freely, preventing jams and making sure everything gets where it needs to go on time. A chaotic one, however, creates nothing but gridlock, delays, and accidents. The goal is to design a space that isn't just tidy, but is actually engineered for seamless movement from the moment a delivery arrives to the second it's dispatched.
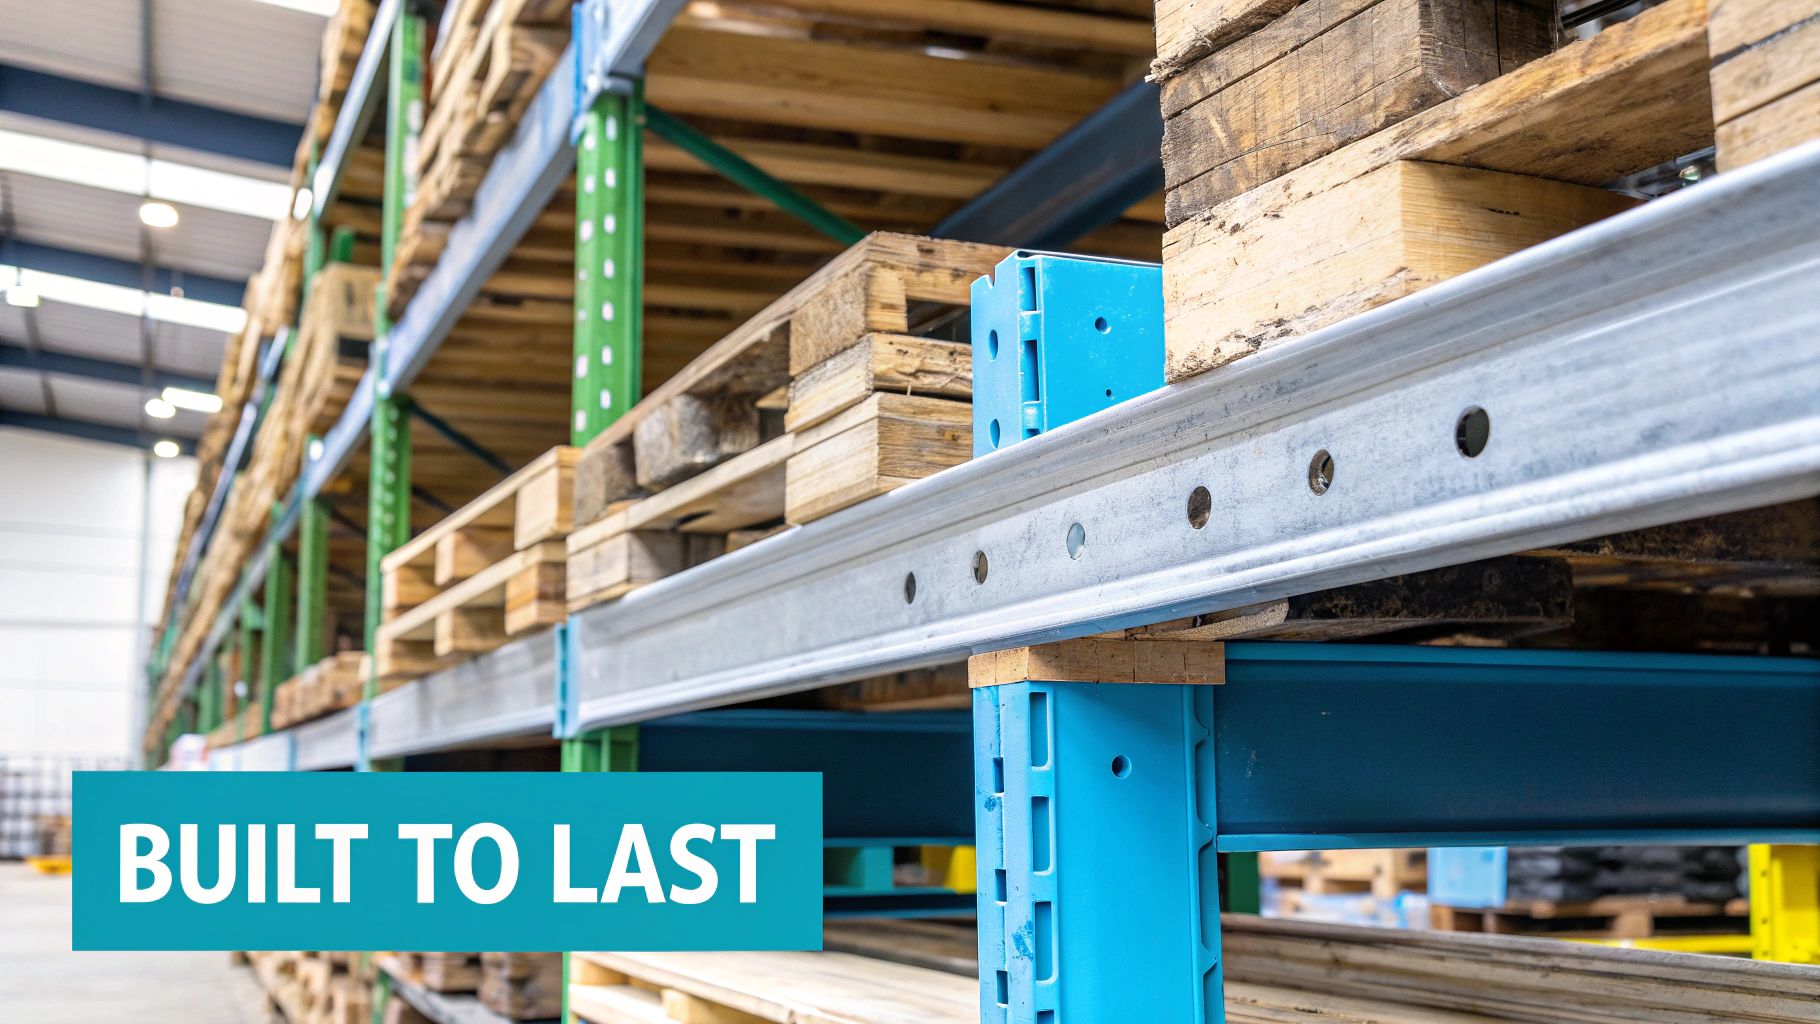
This all starts with mapping out the journey a product takes through your facility. Before you put a single rack in place, it’s vital to visualise the flow of goods and people. Getting a handle on how to map your processes is a game-changer here, and this guide to workflow success through process mapping is an excellent place to start.
Planning Aisle Width for Safety and Efficiency
One of the most critical—and surprisingly common—mistakes in warehouse design is getting the aisle width wrong. This single decision can hamstring your workflow and introduce serious safety hazards. The width must be calculated around the largest piece of handling equipment you use, which for most is the forklift.
A good rule of thumb is to take the forklift's turning radius and add at least 30 cm (about 12 inches) as a safety buffer. This gives operators enough breathing room to manoeuvre without clipping the racking uprights—a collision that can lead to catastrophic structural failure.
Of course, different operations call for different aisle configurations:
- Wide Aisles (3.5m+): This is the standard for most warehouses running counterbalance forklifts. It allows for easy two-way traffic and straightforward pallet handling.
- Narrow Aisles (2.5m-3.0m): Designed for reach trucks, these layouts squeeze more storage capacity out of your footprint by dedicating less floor space to aisles.
- Very Narrow Aisles (VNA) (Under 2.0m): For maximum space optimisation, VNAs require specialised turret trucks that run on wire or rail guidance systems.
A layout is more than just lines on a floor plan. It is a dynamic blueprint that dictates how safely and quickly your team can work. Sacrificing aisle space for a few extra pallet positions is a false economy if it results in damaged goods, slower pick times, and increased accidents.
Creating Ergonomic and Productive Work Zones
An efficient warehouse is also a human-centric one. Your layout should be designed to minimise the physical strain on your employees, which has the knock-on effect of reducing errors and boosting productivity. This means being strategic about where you place your high-turnover items.
The sweet spot for picking is the "golden zone"—the area between a picker's waist and shoulders. By placing your fastest-moving products (your 'A-items') on shelves at this height, you dramatically cut down on bending, stretching, and climbing. It's a simple ergonomic principle that can massively increase picking speed and lower the risk of workplace injuries.
A logical layout also separates different operational zones to prevent bottlenecks. For example:
- Keep your receiving and dispatch areas distinct to stop incoming and outgoing traffic from clashing.
- Designate specific zones for packing and quality control, well away from busy forklift routes.
- Think vertically. If you're out of floor space, you can often double your usable area by installing warehouse mezzanine flooring, creating new levels for lighter storage, offices, or assembly tasks.
The Bigger Picture of Efficient Storage
Ultimately, the drive for well-organised, efficient spaces isn't confined to massive industrial settings. We see similar principles in the UK's garage organisation and storage market, highlighting a wider demand for smart solutions. Key segments like garage cabinets, which account for about 42.93% of market revenue, alongside shelving and racks, show that people are increasingly focused on durable, space-saving options. These trends echo the industrial need to maximise every square metre and improve workflow, showing just how universal the principles of good storage design are.
A Practical Guide to Racking Installation and Maintenance
So, you’ve picked out your ideal industrial storage racks. The purchase order is signed, and you're ready to go. But hold on – your responsibility doesn't end there. In fact, two of the most critical stages are just about to begin: getting them installed correctly and committing to keeping them in good shape.
These final steps are what turn a pile of steel into a safe, reliable, and genuinely useful part of your operation.
Why Professional Installation Isn't a "Nice-to-Have"
Getting the installation right is completely non-negotiable. It might be tempting to think a DIY approach could save a few quid, but that's a classic false economy that can lead to disaster down the line. A professional installation team does more than just bolt a few bits together. They’re trained to ensure the entire system is square, perfectly level, and anchored securely to the floor, all while working to the manufacturer's tight tolerances.
Here in the UK, this process is governed by some very strict safety standards. Following the guidance from bodies like the Storage Equipment Manufacturers’ Association (SEMA) isn't just a suggestion; it’s a key part of your legal duty to provide a safe workplace. Professional installers live and breathe these standards, making sure your racking is compliant from the moment it's built.
The Installation Process: What to Expect
When you bring in a certified installation crew, you’re not just paying for labour. You’re paying for expertise and, most importantly, peace of mind. These specialists understand the dynamic forces at play within a loaded rack and can spot potential problems a general builder would almost certainly miss. The whole process is methodical, with safety as the top priority at every single stage.
A typical professional job will include:
- Pre-Installation Checks: The crew will first verify that your floor is level and strong enough to handle the immense weight of a fully loaded racking system.
- Component Verification: They'll inspect every beam, frame, and fixing as it comes off the lorry to make sure nothing was damaged in transit.
- Precise Assembly: Using specialised tools and working from the engineer-approved drawings, they'll construct the system, ensuring every component is perfectly aligned.
- Anchoring and Shimming: Uprights are securely bolted into the concrete floor. If the surface isn't perfectly flat, they'll use shims to guarantee the frames are truly vertical and stable.
- Final Handover: Once the job is done, they’ll walk you through it and provide essential documentation, including the load notices that you must display clearly on the racking.
Proactive Maintenance: Your First Line of Defence
With your racking installed and full of stock, the game changes. Now, it's all about preservation. Racking isn't a "fit and forget" piece of kit. It lives in a busy warehouse, constantly at risk of being bumped and knocked by forklifts and other equipment. A proactive maintenance schedule is, without a doubt, the most effective way to prevent accidents.
Regular inspections give you the power to spot minor damage before it becomes a major structural failure. You don't need an engineering degree for this – you just need to be diligent and have a clear checklist. Your own staff can easily be trained to carry out routine visual checks, helping to create a culture of safety where everyone feels responsible for the storage system.
A bent upright or a missing safety clip might look like a small problem, but in a system holding several tonnes of product, it’s a critical point of weakness. Finding and fixing these issues early is the difference between a simple repair and a catastrophic collapse.
Your Essential Racking Inspection Checklist
Getting into a routine of regular inspections is simple. Your team just needs to know what to look for – the common signs of wear, tear, and damage. While you should have a formal, expert inspection done annually by a SEMA Approved Racking Inspector (SARI), weekly or monthly checks by your own team are just as vital.
Here are the key things to look for:
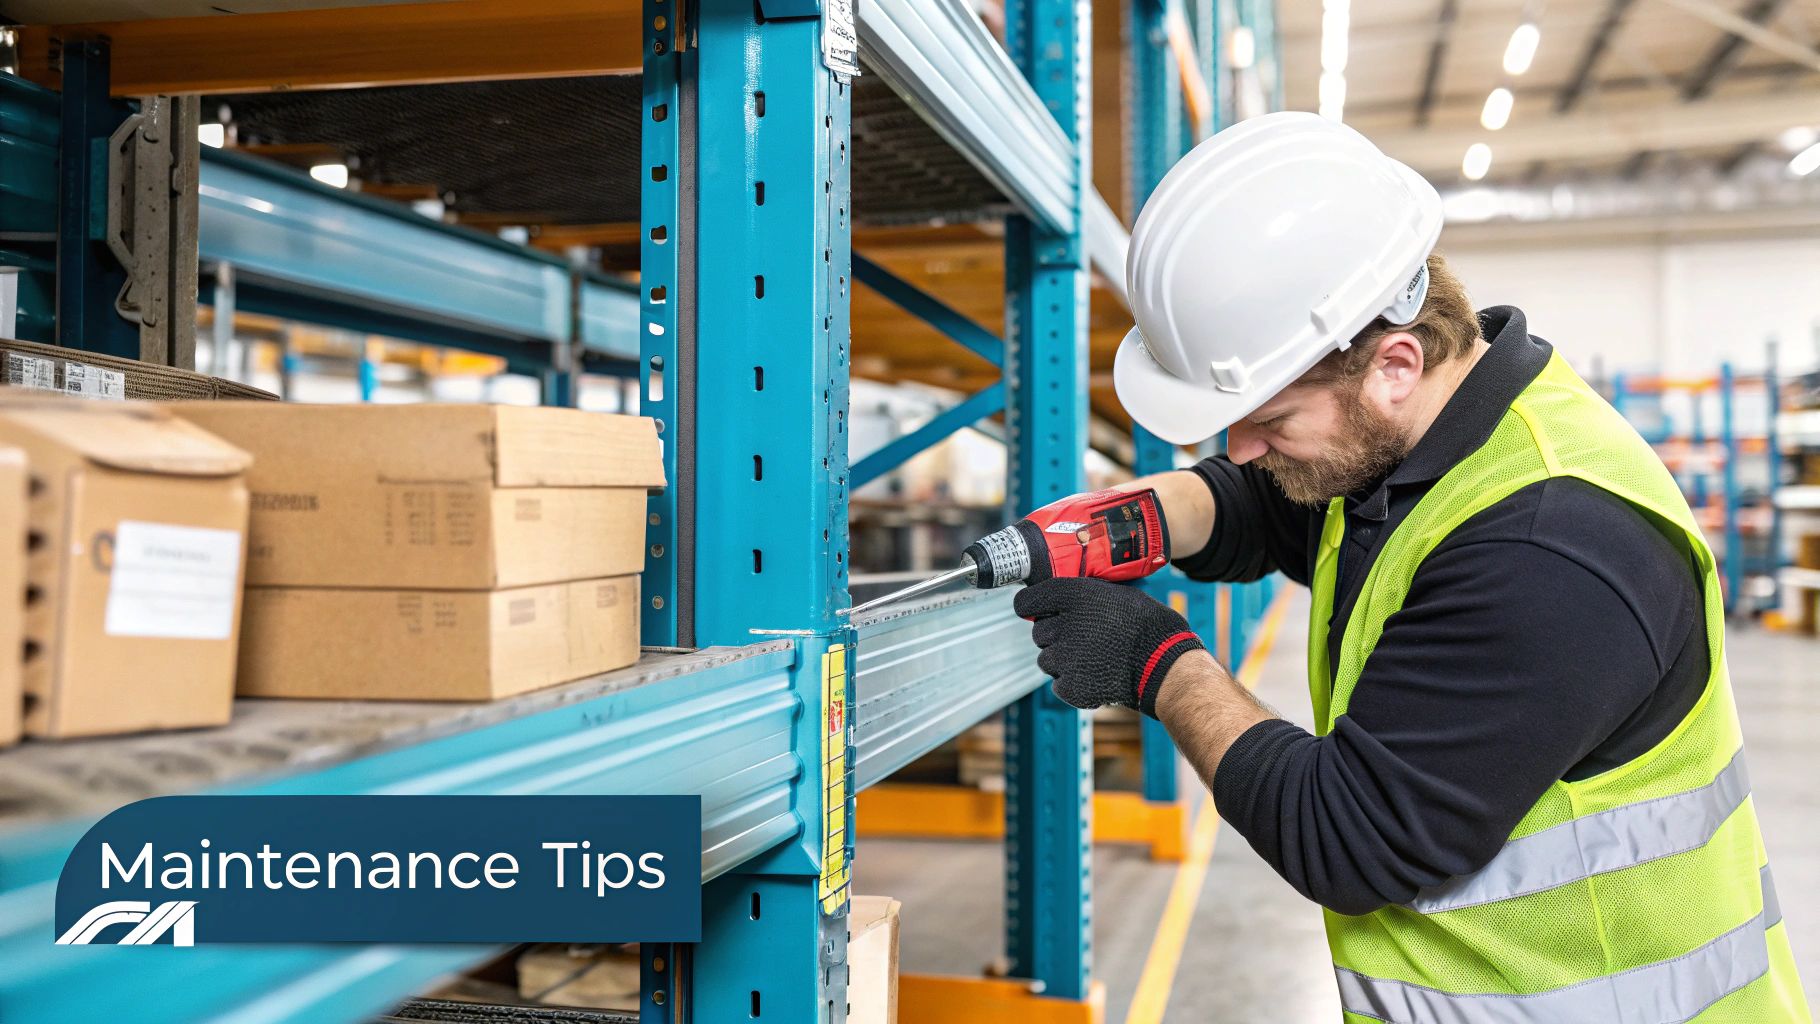
- Damaged Uprights: Check for any dents, twists, or buckling in the vertical frames. Pay close attention to the lower levels, as this is where forklift impacts are most common.
- Deflected Beams: Look along the length of the horizontal beams. If you see any sagging or bowing under a load, they might be overloaded or damaged.
- Missing or Damaged Safety Clips: These little metal clips are crucial – they stop beams from being accidentally knocked upwards and dislodged by a forklift. Make sure every single beam connection has one and that it’s properly engaged.
- Floor Fixing Integrity: Check that all the anchor bolts are still there and feel tight. A loose baseplate can make an entire bay unstable.
- Component Condition: Keep an eye out for any signs of corrosion or rust, especially if your warehouse is damp or temperature-controlled.
By building these simple checks into your day-to-day operations, you’ll be protecting your people, your products, and the long-term value of your investment in high-quality industrial storage racks.
Common Questions About Industrial Storage Racks
Even when you've done all your homework, the world of industrial storage racks can throw up some tricky questions. Getting straight answers is crucial for making smart decisions that keep your warehouse safe and efficient for the long haul. This section tackles the most common queries we hear from facility managers and business owners day in, day out.
We'll cut through the jargon to give you practical advice on everything from UK safety standards to the real risks of mixing and matching parts. Think of this as your go-to reference for managing your storage systems with confidence.
What Are the Most Important UK Safety Standards?
When it comes to racking safety in the UK, one name is paramount: SEMA. The Storage Equipment Manufacturers' Association (SEMA) provides the guidelines and codes of practice that are considered the industry gold standard. While not law in themselves, following them is the best way to prove you’re meeting your obligations under the Health and Safety at Work etc. Act 1974.
But compliance isn't a one-and-done deal during installation; it's an ongoing commitment. Here are the non-negotiables:
- Expert Inspections: You need a "technically competent" person—like a SEMA Approved Racking Inspector (SARI)—to carry out a thorough inspection at least once every 12 months.
- Clear Load Notices: Every single bay must have a clearly visible sign showing its maximum load capacity. This should detail the limit for each beam pair and for the bay as a whole.
- Damage Prevention: It’s vital to install protection for vulnerable parts of the racking. Think column guards and end-of-aisle barriers to fend off those inevitable bumps from forklifts.
Getting these fundamentals right is the foundation of a safe warehouse and helps prevent catastrophic failures.
Can I Mix Components from Different Racking Manufacturers?
Let me be crystal clear: absolutely not. It's one of the most dangerous things you can do in a warehouse. It might seem like a quick fix to use a spare beam from one brand on another system, especially if it looks like it fits, but you're creating a massive hidden risk.
Racking systems are precision-engineered. Each manufacturer has its own specific steel grades, locking mechanisms, and tolerances that are all designed to work together as a single, unified structure.
Mixing components is like trying to build a car engine with parts from three different makes. Even if the pieces seem to connect, the internal stresses and connection points won't align, leading to an unpredictable and unsafe structure that voids any warranty and puts your team in jeopardy.
Always, always get replacement parts from the original manufacturer or their approved distributor. It's the only way to guarantee the system's integrity.
How Often Should Industrial Storage Racks Be Inspected?
A good inspection routine isn't just about one big annual check-up. It's a multi-layered approach that involves your whole team and catches damage early, before it becomes a serious problem. A truly robust schedule works on three levels.
Your proactive plan should look like this:
- Immediate Reporting (Daily): This is your first line of defence. Train every member of your warehouse team to spot obvious damage—like a bent upright from a forklift knock—and report it straight away.
- Visual Inspections (Weekly/Monthly): A trained person from your own staff should carry out regular, documented visual checks. This routine helps spot developing issues that might get missed during a busy shift.
- Expert Inspection (Annually): At least once every 12 months, you need a comprehensive inspection from a qualified external expert, like a SARI. They have the experience to see things you can't, like subtle metal fatigue, stress fractures, or improper modifications.
This layered system ensures nothing slips through the cracks, keeping your racking safe day in and day out.
What Is the Difference Between Roll-Formed and Structural Steel?
The key difference between roll-formed and structural steel racking comes down to how they're made, which has a huge impact on their toughness and where you should use them. Think of it as the difference between a standard car chassis and the heavy-duty frame of a lorry.
Roll-formed racking is created by bending flat sheets of steel into the required C-shape profiles. It's an efficient, cost-effective process, which is why it's the most common type of racking you'll see in warehouses and distribution centres. It's strong for its weight and price, but it is more easily damaged by a forklift impact.
Structural steel racking, on the other hand, is built from hot-rolled steel channels bolted together. This results in a much thicker, heavier, and more robust frame. It costs more upfront, but its incredible resistance to impact makes it the go-to choice for tough environments. You'll usually find it in:
- Busy distribution hubs with constant forklift traffic.
- Freezers and cold storage, where steel can become more brittle.
- Outdoor yards where it's exposed to the weather.
The choice really comes down to matching the racking’s resilience to the daily reality of your operation.
At TEMA Solutions Limited, we specialise in providing robust and efficient storage solutions tailored to your unique industrial needs. From heavy-duty shelving to ergonomic workbenches, our systems are designed to maximise your space and productivity. Discover how our industry-trusted products can transform your workspace by visiting us at https://tema-solutions.co.uk.


