


Choosing the right heavy duty pallet racking is about far more than just buying some strong shelves. It’s a foundational decision, one that sets the tone for your entire warehouse's efficiency, safety, and even its profitability. Think of it as the literal backbone of your operation.
Why Heavy Duty Pallet Racking Is Your Warehouse Foundation
Picture your warehouse as a finely tuned engine. Every part, from the forklifts whizzing down the aisles to the inventory software tracking every box, has to work together seamlessly. Your pallet racking is the chassis that holds it all in place. If that chassis is weak, poorly designed, or the wrong fit, you're building in bottlenecks and risks from day one.
Get it right, though, and a well-planned racking system acts as a genuine force multiplier. It doesn't just hold things. It actively streamlines how your goods move, how quickly your team can pick orders, and how safe everyone is while they do it. This isn't just a purchase; it's one of the most critical investments you'll make in your facility's long-term success.
More Than Just Steel
Investing in the right system is really about future-proofing your business. Here in the UK, the pressure for ever-greater warehouse efficiency has never been higher, and you can see that in the steady growth of the racking market. This isn't a surprise; evolving logistics and the constant need to modernise to meet demand are pushing everyone forward. You can dig into the data on UK market growth trends to see just how supply chains are having to adapt.
Making the smart choice at the start saves you from eye-watering reconfiguration costs down the line and ensures your infrastructure is ready for growth. It’s what separates a warehouse that’s always playing catch-up from one that drives smooth, scalable performance.
A properly specified heavy duty pallet racking system isn't an expense; it's a permanent upgrade to your facility's capacity, safety, and productivity. It provides the stability needed to build an efficient and profitable operation.
Before we get into the nuts and bolts of different systems, let's take a moment to consider the big-picture factors that should steer your decision. Getting these fundamentals clear in your mind is the first step to a smart investment.
To help with this, the table below breaks down the essential questions you need to ask.
Key Decision Factors for Heavy Duty Racking
| Factor | Key Question to Ask | Why It Matters |
|---|---|---|
| Operational Flow | How do goods actually move through our space—from the loading bay to storage and out to dispatch? | Your racking layout must support a logical, efficient path. A poor layout creates congestion and wasted time. |
| Inventory Profile | Are we storing uniform pallets of the same product, or a messy mix of SKUs with different sizes, shapes, and weights? | The type of inventory dictates the best racking system. A one-size-fits-all approach rarely works. |
| Equipment Integration | What forklifts, reach trucks, or pallet jacks are we using (or planning to use)? | Aisle widths, rack heights, and turning circles must be designed around your equipment to ensure safe and efficient operation. |
| Space Utilisation | How can we maximise storage density without compromising accessibility or safety? | This is the core trade-off. Your goal is to use every cubic metre of your building effectively, balancing storage capacity with operational speed. |
| Future Scalability | Where will the business be in 5 or 10 years? Will this system grow with us or hold us back? | A good system should be adaptable. Thinking ahead prevents having to rip and replace your entire setup when you expand. |
Thinking through these points gives you a solid foundation for every other decision you'll make, from choosing a specific type of racking to planning the final layout.
Decoding Load Capacity and Technical Specifications
Getting the numbers right on your heavy-duty pallet racking is the single most important thing you'll do to ensure a safe, efficient warehouse. It's easy to get tangled up in technical jargon, but once you break it down, the core concepts are surprisingly straightforward. The goal is to find that perfect balance—a system robust enough to be safe, without over-engineering it and blowing the budget.
Think of it like a simple bookshelf in your office. Each shelf can only hold so many heavy binders before it starts to sag; that’s its beam capacity. At the same time, the two vertical side panels holding all the shelves can only take so much total weight before the whole thing gets wobbly. That’s the frame capacity. Pallet racking is the exact same principle, just on a much bigger, more critical scale.
The Two Pillars of Racking Strength
To figure out what you truly need, you have to look at two separate load ratings. They aren't interchangeable, and getting either one wrong can lead to a catastrophic failure.
-
Beam Capacity: This is the maximum uniformly distributed load (UDL) a pair of horizontal beams can safely hold. It’s nearly always given as a weight limit per pair, something like 2,500 kg per pair. This is your starting point, based on the weight of your heaviest pallets.
-
Frame (or Upright) Capacity: This tells you the total maximum load the entire vertical frame structure can support. It's the combined weight of all the beam levels in one bay. So, if a frame is rated for 10,000 kg and you have five beam levels, the total weight of the pallets sitting on those five levels cannot go over that limit.
This is where safety and efficiency start to directly impact your bottom line.
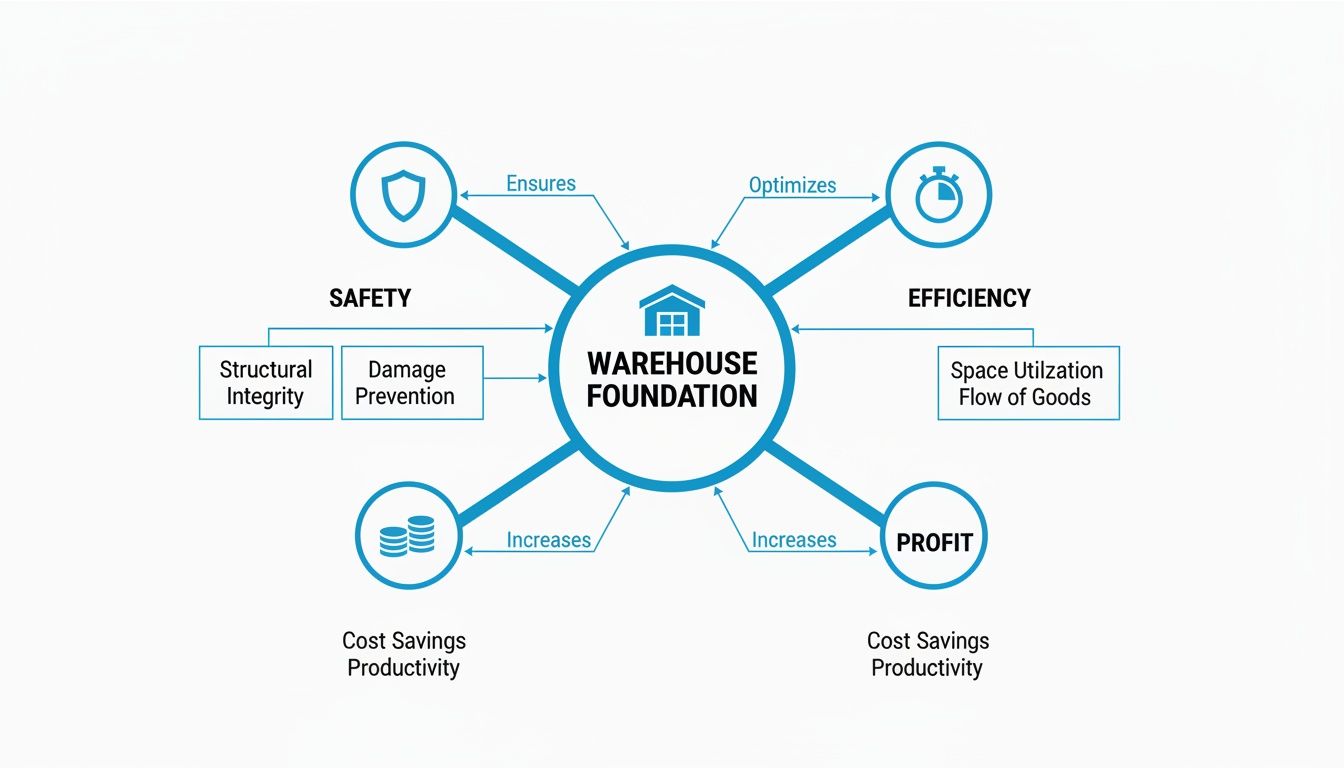
As you can see, a solid foundation isn't just about avoiding disaster; it actively creates a more profitable operation through smarter space usage and smoother workflows.
Reading the Manufacturer's Spec Sheet
When a quote or technical sheet lands on your desk, you'll be met with a wall of figures and terms. Knowing what they mean is what separates a good investment from a costly mistake.
A classic mistake is to focus only on the beam capacity. The frame capacity is just as crucial, and it's heavily influenced by the vertical space between your beams. The larger the gap between your levels, the less the frame can ultimately hold due to the way forces are distributed.
Let's break down what some of these specifications mean for your day-to-day operations. For example, heavy-duty systems, designed for frame loads exceeding 8,000 kg, are the go-to choice for high-turnover environments like manufacturing and automotive plants. These industries can't afford anything less than total reliability, as explored in this deep dive into the pallet racking market.
Key Terms You Need to Know
Here are a few other common terms you'll come across and what they actually mean on the warehouse floor:
-
Pitch: This is simply the distance between the connection slots on the upright frames. A smaller pitch, like 50mm, gives you more granular control over shelf heights, helping you squeeze out wasted vertical space. A 75mm pitch is also very common and works perfectly well for most applications.
-
Beam Profile: This refers to the height of the beam face. A taller beam profile (e.g., 120mm) is a good indicator of a higher load capacity compared to a slimmer one (e.g., 80mm), assuming the steel thickness is the same.
-
Steel Gauge: This is the thickness of the steel used to make the components. It’s a bit counter-intuitive, but a lower gauge number means thicker, stronger steel. Thicker steel directly translates to higher load capacities and better resistance to everyday bumps and scrapes from forklifts.
By getting comfortable with these specs, you're no longer just buying a product; you're making an informed engineering decision. Matching the racking's capabilities to your inventory's specific weight and dimensions ensures you build a system that’s not only safe and compliant but perfectly tuned for years of cost-effective performance.
Choosing the Right Type of Heavy Duty Pallet Racking
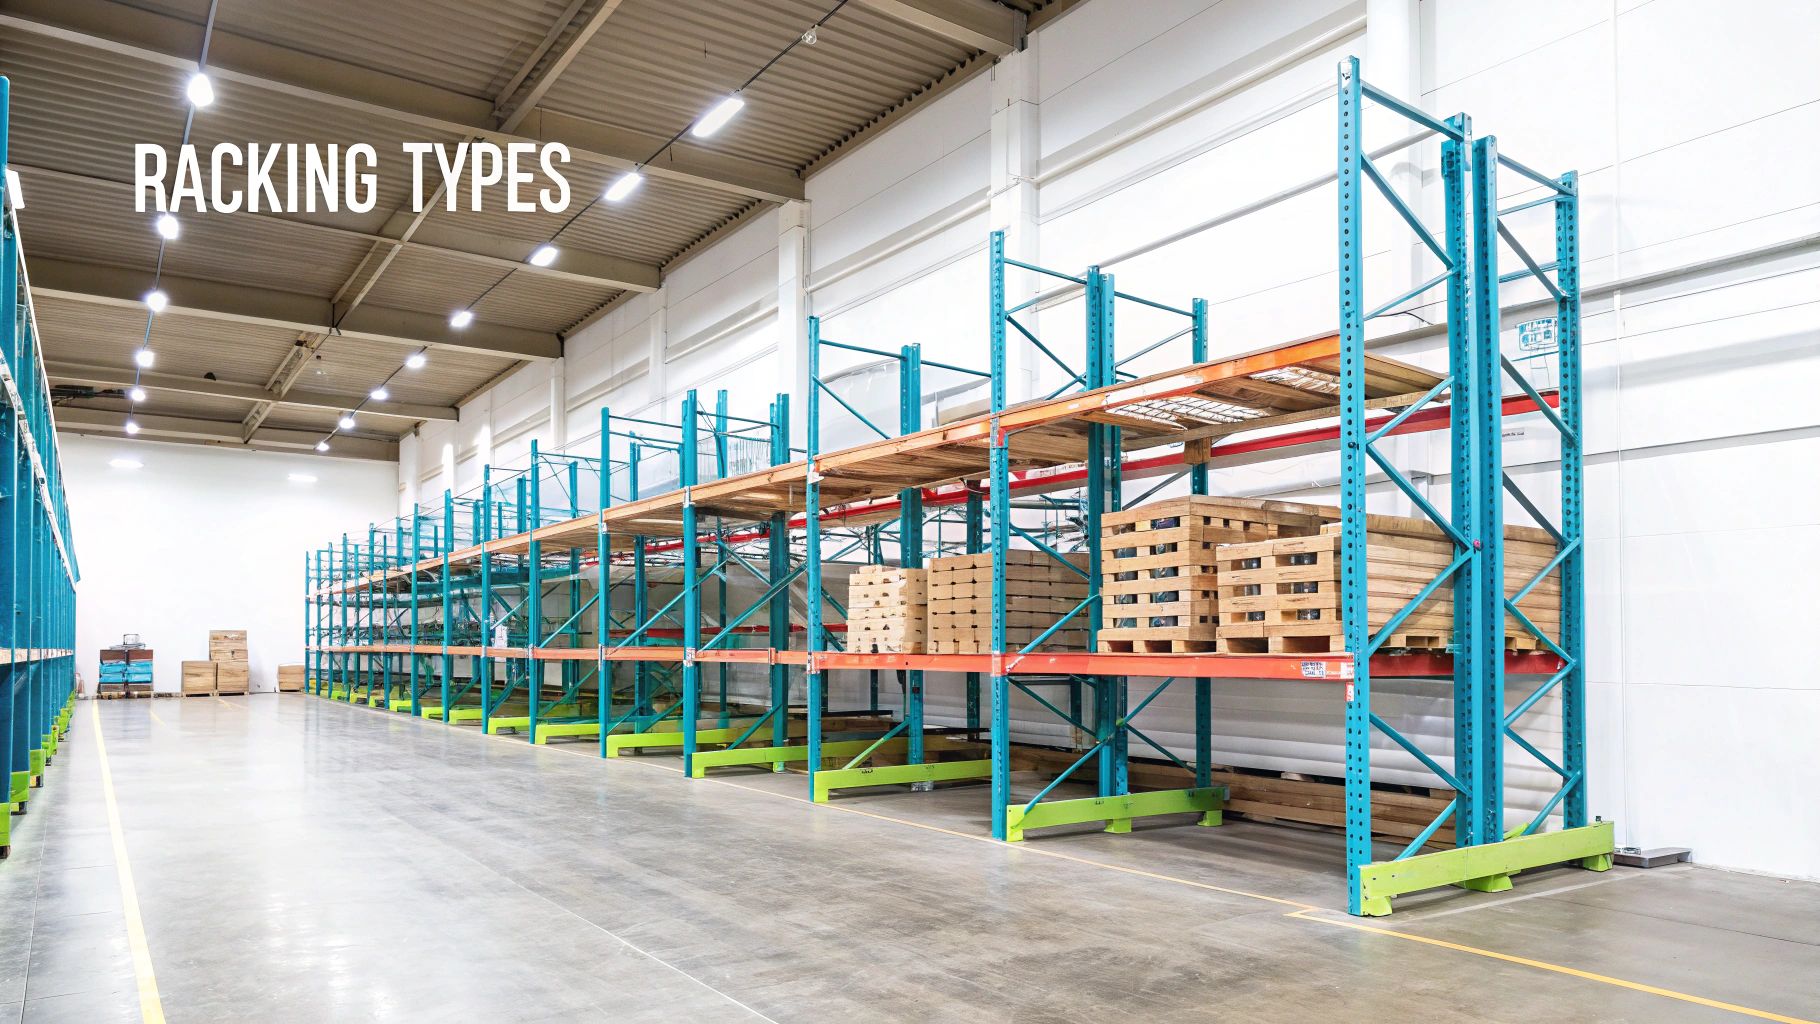
Picking the right heavy-duty pallet racking system is a bit like choosing a vehicle. You wouldn't use a sports car to haul bricks, and a tipper truck isn't much good for a family holiday. Each system is engineered for a specific job, and matching the right one to your inventory and workflow is the secret to a truly efficient warehouse.
Get this decision wrong, and you could be stuck with years of operational headaches, from sluggish pick times to tonnes of wasted floor space. But get it right, and you'll create a storage environment that genuinely boosts productivity, safety, and your bottom line.
Let's break down the main contenders to see which system is the best fit for your facility.
The All-Rounder: Selective Racking
Standard selective racking is the most common type you'll see in warehouses, and for good reason—it's the versatile workhorse of the storage world. Think of it as the main shelving area in a library, where every single book has its own spot and can be picked up instantly.
That's its biggest advantage. In a selective system, you can get to every single pallet directly from an aisle without having to shuffle anything else around. This gives you 100% selectivity, which is absolutely vital for operations with a huge variety of different products (high SKU counts) and fast stock turnover. If your inventory is diverse, selective racking is almost always the most logical starting point.
- Best for: Warehouses with many different product lines and a need for direct access to all of them.
- Workflow: It’s a natural fit for a First-In, First-Out (FIFO) inventory system, making sure older stock gets used first.
- The Catch: It demands more aisle space than other systems, which means your overall storage density will be lower.
The Space Saver: Drive-In & Drive-Through Racking
If selective racking is a library, then drive-in racking is more like a huge filing cabinet built for identical items. Instead of placing pallets side-by-side, it stores them in deep lanes, one behind the other. The forklift quite literally drives into the racking structure to place or retrieve pallets.
This design drastically cuts down on the number of aisles you need, giving you incredibly high storage density. It’s perfect when you're storing massive quantities of the same, uniform product that isn't particularly time-sensitive—think of a bottling plant with thousands of pallets of the same soft drink.
The big trade-off with drive-in racking is accessibility. It’s a Last-In, First-Out (LIFO) system, meaning the first pallet you put in a lane is the very last one you'll take out. This makes it completely unsuitable for perishable goods or products with expiry dates. A drive-through system, with entry/exit points at both ends, offers a FIFO alternative but requires even more careful management.
The Long-Load Specialist: Cantilever Racking
So, what do you do with items that just won't sit neatly on a standard pallet? This is where cantilever racking comes into its own. It’s designed without the front vertical uprights that would normally get in the way, creating long, clear-span shelves perfect for awkward or oversized goods.
It’s the ideal solution for storing things like timber, steel pipes, PVC extrusions, rolls of carpet, or even bulky furniture. Cantilever racking provides a safe, organised home for these challenging items, preventing damage and making them easy to access. The arms can be adjusted to handle different product heights, making it an incredibly flexible system for specialist sectors like builders' merchants or metal fabrication shops. If you deal with these kinds of products, you can explore various industrial and warehouse racks for sale to find a setup that fits your unique inventory.
Other High-Density Options
While the three systems above cover most needs, there are other specialised designs for when you need to squeeze even more from your space:
- Pallet Flow Racking: This is a high-density, FIFO system where pallets are loaded at one end of a sloped lane equipped with rollers. They gently slide down to the other end for picking. It’s brilliant for fast-moving consumer goods.
- Double-Deep Racking: A simple variation of selective racking, this system stores pallets two deep instead of one. It increases density but requires a special forklift with a telescopic reach and slightly reduces selectivity.
Comparing Heavy Duty Pallet Racking Systems
With so many options, a side-by-side comparison can help clarify which system aligns best with your priorities. This table gives a quick overview to help you weigh up the pros and cons based on density, access, and cost.
| Racking Type | Best For | Storage Density | Stock Access (Selectivity) | Relative Cost |
|---|---|---|---|---|
| Selective | High SKU counts, fast turnover, FIFO access | Low | 100% (Excellent) | £ |
| Double-Deep | Balancing density & selectivity | Medium | 50% (Good) | £-££ |
| Drive-In/Through | Bulk storage of uniform, non-perishable goods | Very High | Very Low | ££ |
| Pallet Flow | High-volume, fast-moving FIFO products | High | Good (Lane-specific) | ££££ |
| Cantilever | Long, bulky, or irregularly shaped items | Varies | Excellent | £££ |
Ultimately, the best choice isn’t just about the racking itself, but how it integrates with your forklifts, your team’s workflow, and your overall business goals.
Designing an Efficient and Safe Warehouse Layout
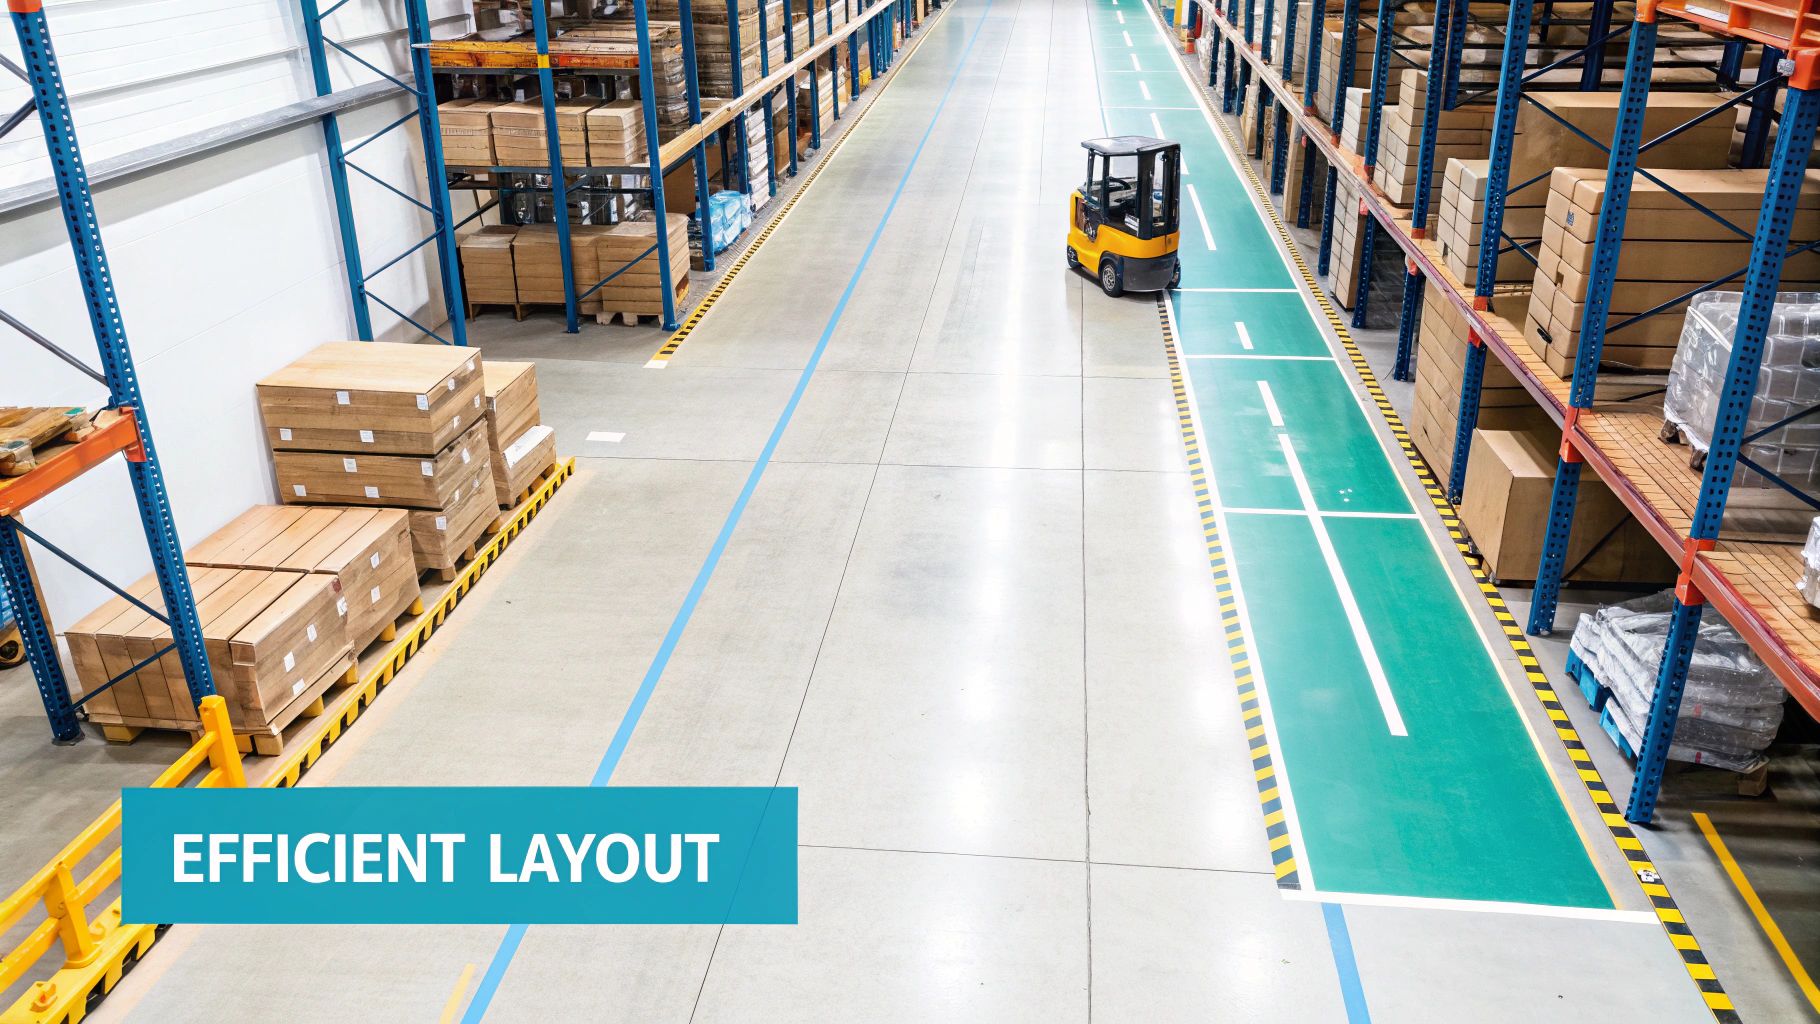
Turning a pile of steel components into a high-performing storage system all comes down to a smart layout plan. A great design does more than just cram racking into a building; it creates a genuine blueprint for efficiency, safety, and productivity. The real goal here is to make the entire journey of your goods—from the moment they arrive to the moment they leave—as smooth and logical as possible.
Every wasted step is wasted time and money. A well-thought-out layout cuts down the travel distances for both your team and your machinery, which in turn reduces fuel costs, labour hours, and the risk of accidents. When you're sketching out your plans, getting familiar with the basic principles of commercial building floor plans can give you a massive head start. It helps you think like an architect about flow, access, and how the racking integrates with the building itself.
From the width of your aisles to the height of your beams, every choice you make will directly impact your day-to-day operations. This is where the theory becomes a practical, hard-working floor plan that serves your business for years to come.
Calculating Aisle Width for Maximum Efficiency
One of the first and most critical decisions you'll make is setting the right aisle width. This isn't a one-size-fits-all measurement; it's dictated almost entirely by the forklifts and other handling equipment you use. Go too wide, and you're wasting valuable floor space that could be used for more storage. Go too narrow, and you’ve created a serious safety hazard and an operational bottleneck.
A standard counterbalance forklift, for example, usually needs a generous 3.5 to 4 metres to move around safely. On the other hand, a more nimble reach truck can often work comfortably in an aisle as tight as 2.7 metres, which lets you pack more racking into the same footprint.
The golden rule? Always check the manufacturer's spec sheet for your specific forklift model. Look for the "minimum aisle width" or "turning radius" figure, and then add a safety buffer of at least 150mm on each side to be safe.
Always plan your aisles based on your largest piece of equipment. Even if you only have one machine that needs a wider turning circle, all relevant aisles must be designed to accommodate it safely. Compromising here is not an option.
Understanding the Anatomy of a Racking Bay
A single bay of pallet racking is a deceptively simple structure, but understanding how its core components work together is key to appreciating how it safely supports thousands of kilograms of stock.
- Uprights (Frames): These are the vertical steel columns that create the main structure. They come pre-welded with horizontal and diagonal bracing already in place, giving the whole system its rigidity.
- Beams: These are the horizontal, load-bearing bars that connect the uprights. Your pallets sit directly on these beams. They come in all sorts of lengths and profiles to match the loads you need to support.
- Safety Locking Pins: A tiny but absolutely vital component. These pins lock the beams into the uprights, preventing them from being accidentally knocked out by a forklift during loading or unloading.
These three elements work as an interconnected system to create a secure storage unit. When you start looking at different industrial storage racks, you'll see just how many ways these parts can be configured to suit different needs.
Setting Beam Levels to Eliminate Wasted Space
With the main layout sorted, the final step is to optimise the vertical space in each bay. Setting your horizontal beam levels correctly is all about making sure you aren't just storing fresh air. The aim is to get rid of that dead space above your pallets, which boosts your storage density without you having to extend the building.
Here's how you do it. First, measure the height of your tallest typical pallet load, making sure to include the height of the pallet itself. Then, add a clearance gap of at least 100-150mm on top. This gives the forklift operator enough room to lift and place the pallet without smacking into the beam above.
This total measurement gives you the ideal vertical space—or "aperture"—for each storage level. A simple bit of maths like this can help you fit the maximum number of beam levels into your racking's height, turning that empty overhead space into valuable, usable storage.
Mastering Safety Standards and Maintenance Routines
A robust heavy-duty pallet racking system is a huge asset, but it only holds its value if it's kept safe. That means diligent maintenance and a strict commitment to regulations. A safe warehouse isn't just about ticking compliance boxes; it's about building a more productive and reliable operation from the ground up.
Ignoring maintenance isn't just a bit risky—it's a direct threat to your people, your products, and your bottom line.
In the UK, the Health and Safety Executive (HSE) lays out the rules, while industry bodies like the Storage Equipment Manufacturers' Association (SEMA) set the professional benchmarks. The real trick is turning those official guidelines into practical, everyday habits that prevent accidents, sidestep costly downtime, and make sure your racking lasts as long as it should.
The Importance of Regular Inspections
Being proactive with inspections is the absolute bedrock of racking safety. If you're waiting for something to break, you're already behind. A proper inspection schedule lets you catch and fix the small stuff before it snowballs into a catastrophic failure.
Think of it as having multiple layers of defence.
- Immediate Reporting: Everyone on the floor, especially your forklift drivers, needs to be trained to report any knock, bump, or visible damage the moment it happens. This is your first and most vital line of defence.
- Weekly Visual Checks: A designated, competent person should walk the aisles every week, purely looking for obvious problems. We’re talking dislodged beams, missing safety pins, or bent uprights. It’s a quick but essential scan.
- Formal Monthly Inspections: Once a month, a trained internal team member should carry out a more detailed, documented check.
- Annual Expert Inspection: At least once every 12 months, you need an expert’s eye. A SEMA Approved Rack Inspector (SARI) or another qualified external professional must conduct a full, comprehensive audit of your entire system.
Decoding Damage with the Traffic Light System
When damage does get spotted, you need a simple, consistent way to classify the risk. The SEMA traffic light system is the industry standard for a reason—it takes the guesswork out of the equation and makes the urgency crystal clear to everyone.
- GREEN (Requires Surveillance): This is for minor dings and scrapes that fall within SEMA's acceptable limits. You don’t need to do anything right away, but you absolutely need to record it and keep an eye on it during future checks.
- AMBER (Requires Action as Soon as Possible): This signals damage that's serious enough to need proper attention. The bay must be emptied as soon as it's safe to do so. Crucially, it cannot be reloaded until the repairs are done.
- RED (Requires Immediate Action): This is for very severe damage that presents a clear and present danger. That bay needs to be offloaded immediately and taken out of commission. It should be clearly marked and cordoned off until a qualified installer has repaired or replaced the damaged components.
A common and dangerous mistake is letting staff use an 'amber' risk bay "just until the end of the shift." This has to be a zero-tolerance issue. Amber means the structural integrity is already compromised, and the very next pallet could be the one that brings it down.
Safety, of course, goes beyond just the racking structure. Protecting your team as they work in and around these massive structures is paramount. This involves staying current on all relevant safety protocols, including things like personal protective equipment standards detailed in guides like A Practical Guide to CSA Z96-22 High-Visibility Apparel.
Finally, never forget your Safe Working Load (SWL) notices. They must be clear, easy to read, and displayed prominently on the racking. These signs aren't just decorations; they are a legal requirement and a critical safety tool, reminding operators of the maximum beam and bay capacities you worked so hard to calculate.
Making a Smart Investment in Your Racking System
Choosing the right pallet racking heavy duty system is a major capital investment, and it's easy to fall into the trap of just looking at the initial price tag. But the cheapest quote today can quickly become the most expensive problem tomorrow, racking up costs in repairs, downtime, and lost efficiency.
A truly smart investment considers the total cost of ownership over the entire life of the system. Think about the full financial picture. Installation costs, for instance, can vary massively depending on how complex the system is and the skill of the fitting crew. Then there's the ongoing maintenance and inevitable repairs – these are real, tangible costs that need to be in your budget from the get-go.
Beyond the Initial Quote
When you start getting quotes, it's crucial to compare apples with apples. A suspiciously low price might be hiding thinner steel, a less robust finish, or a much shorter warranty. You have to dig a little deeper to make sure you're getting a system that will deliver genuine, long-term value.
The goal is to find a partner, not just a vendor. A good supplier provides a complete, well-supported storage solution, offering expert guidance on layout, compliance, and maintenance, ensuring your investment is safe and productive for years.
A quality system is simply built to last. Take the finish, for example. A durable powder-coated finish isn't just about looking good; it provides high abrasion resistance against the daily scrapes and knocks from forklifts and pallets. This small detail can significantly extend the life of the steel, and it’s what separates a short-term purchase from a long-term asset.
Your Procurement Checklist
To prepare you for those conversations, here’s a checklist of critical questions to ask every potential supplier. Their answers will tell you a lot about the quality of their product and the support you can expect down the line.
- Manufacturing Standards: Are your components manufactured to recognised standards, like those from SEMA or other relevant UK bodies?
- Steel Grade and Origin: Can you give me the exact specifications for the grade and thickness of steel used in the uprights and beams?
- Lead Times and Stock: What are your lead times for delivery and installation? Are all the components you've quoted actually in stock?
- Installation Team: Are your installers SEIRS-qualified or hold similar accreditations? This is vital for a safe and compliant build.
- Warranty Details: What, specifically, does the warranty cover and for how long? Does it exclude accidental damage?
Asking these questions helps you build a complete picture of what you’re actually buying and allows you to compare different offers intelligently.
While new racking is often the best choice for guaranteed quality and a solid warranty, it’s also worth exploring certified options. A used pallet rack from a reputable supplier can offer significant savings for certain applications without compromising on safety, helping you make a financially sound decision that meets both your budget and your operational needs.
Got Questions About Heavy Duty Racking? We’ve Got Answers.
Now that we’ve walked through the technical side of things, let's tackle some of the practical questions that often pop up. Here are the most common queries we get from facility managers, with straightforward answers to help you finalise your plans for a heavy duty pallet racking system.
When Do I Actually Need to Go "Heavy Duty"?
The simple answer? You need a heavy-duty system when your typical pallet loads consistently weigh more than 1,000 kg, or the total weight you plan to store in a single bay will exceed 8,000 kg.
It’s really a non-negotiable for industries storing dense, weighty goods – think manufacturing, engineering, or automotive parts. If your day-to-day involves hefty products, stacking pallets high, and constant forklift activity, investing in a proper heavy-duty setup is the only safe and reliable path. Standard racking just isn't built to handle that kind of relentless pressure over the long haul.
What’s the Difference Between Beam and Upright Capacity?
Getting this right is absolutely critical for safety. The easiest way to think about it is individual strength versus the strength of the whole structure.
- Beam Capacity: This is how much weight a single pair of horizontal beams can safely hold, assuming the load is spread evenly across them.
- Upright Capacity: Often called frame capacity, this is the total combined weight the entire vertical frame can support. It's the sum of all the beam levels in that one bay.
Here's the crucial detail: upright capacity isn't a fixed number. It actually decreases as you increase the vertical space between your beams. You must always double-check that your total planned load for the entire bay is comfortably under the frame's rated capacity for your specific layout.
How Often Should I Get My Heavy Duty Racking Inspected?
For a truly safe system, you need a layered inspection schedule. Think of it as a constant health check. Your own trained warehouse staff should be doing quick visual checks weekly, keeping an eye out for obvious dings or damage from forklift impacts.
Beyond that, a more formal internal inspection should be carried out and documented at least once a month. Most importantly, a comprehensive, expert inspection by a technically qualified professional, like a SEMA Approved Rack Inspector (SARI), is required at least once every 12 months. If any damage is spotted at any point, it must be reported and assessed immediately to decide if the bay needs to be emptied and repaired.
At TEMA Solutions Limited, we do more than just supply equipment. We deliver intelligently engineered storage solutions that become the backbone of a safe, efficient workspace. Discover our range of industrial racking and workstation systems, all designed for lasting durability and peak performance. https://tema-solutions.co.uk


